
Nome II Quick Start: all setup answers
This is the complete setup reference for the Official Nome II Manual. All answers are available without completing a questionnaire or running JavaScript. Choose the sections that match your equipment; alternative synchronization methods are not instructions to enable every method at once.
These instructions cover firmware 5.5 and U-SYNC 1.4.1. Set up Nome II as the clock source for your instruments first, then add DAW or external synchronization if needed. The answer text below is shared with the personalized guide.
Setup instructions
For every setup: install the current firmware before configuring synchronization.
Update your firmware
Start by updating your firmware: download the Firmware Update Tool, and press “Check for updates…”.
Sync your MIDI gear
For synths or keyboards without a sequencer or arpeggiator: no clock is needed for notes played live.
Synths and keyboards without any sequencing or arpeggiating abilities are simply played live and do not require any clock.
But since you use a DAW, you can use the Nome as a usual USB-MIDI interface to send MIDI notes and other data from your DAW.
Simply connect a MIDI cable from  or
or  on the Nome to your synth’s MIDI input.
In your DAW, send MIDI to the USB-MIDI interface called “MIDI Out 1” or “MIDI Out 2”.
on the Nome to your synth’s MIDI input.
In your DAW, send MIDI to the USB-MIDI interface called “MIDI Out 1” or “MIDI Out 2”.
For clock-capable sequencers, drum machines, arpeggiators, loopers and MIDI effects:
Syncing MIDI gear to the Nome is very straightforward.
Sequencers and drum machines will sync to the Nome’s tempo but can also be started and stopped by the Nome using MIDI Start/Stop messages.
Arpeggiators, on the other hand, will follow the Nome’s tempo but will start their pattern when you play a note.
Most loopers can in theory follow the Nome’s tempo, they can also be started and stopped by the Nome using MIDI Start/Stop messages. But in reality, most of them struggle to do so: this is unrelated to the Nome and happens whenever the looper is following another device. If yours is one of those, you have two options:
Make the Nome follow the looper instead: use an auxiliary dedicated output on your looper to send regular sharp sounds to the Nome. See Sync to an analog clock or an audio signal for more info.
Sync to the looper “manually”: start it on time with the count-off feature, then use the Smart Tap Tempo and time nudging to keep it on time with the Nome.
Most effects pedals with a MIDI input will be able to follow the Nome’s tempo for time-based effects like delays and modulation.
To get your MIDI gear in sync with the Nome:
Search for “sync” or “clock” in your gear’s manual to find the right settings.
Use this to make sure they are set to follow an external MIDI clock, as well as Start/Stop if supported.
Connect a MIDI cable from the Nome’s
or to your gear’s MIDI input.
Use a DIN-MIDI cable or a
TRS-MIDI cable depending on your gear’s input.Press
 and change the tempo with
  on the Nome to check it works.
For modular and Eurorack equipment with compatible analog clock inputs:
Sync your modular synths
The Nome has two 5V analog clock outputs on its 3.5mm stereo  port
(left and right channels, use a breakout cable to separate them).
Each output can send clock pulses (1-24ppq), a pulse on start/stop, or a run gate signal.
port
(left and right channels, use a breakout cable to separate them).
Each output can send clock pulses (1-24ppq), a pulse on start/stop, or a run gate signal.
Configure the port using the 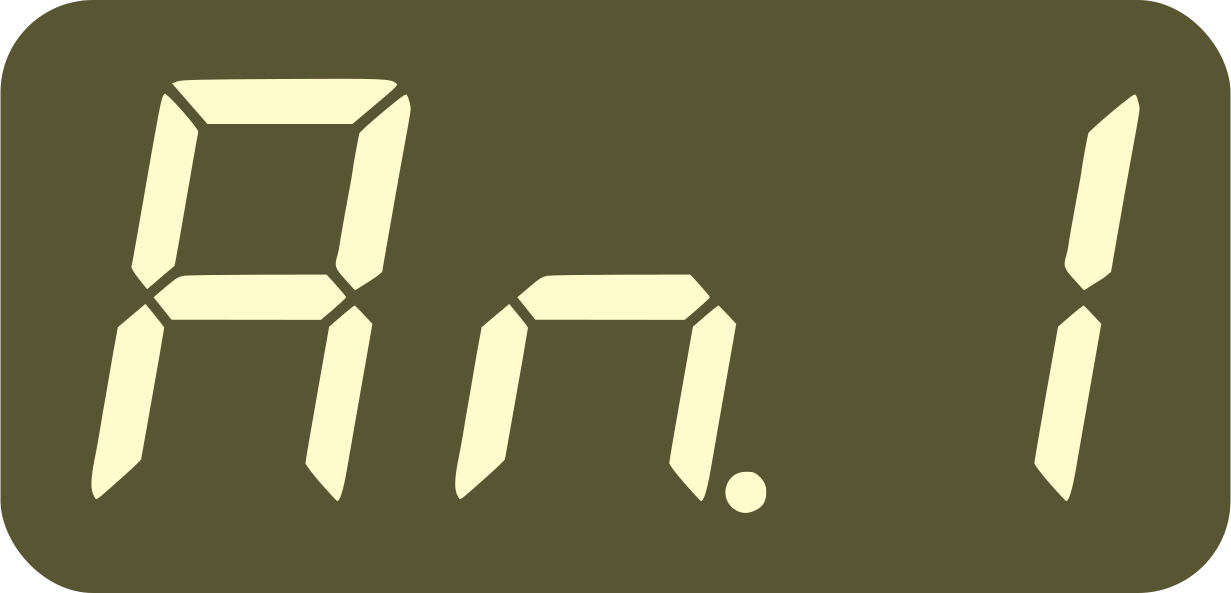 (left channel) and
 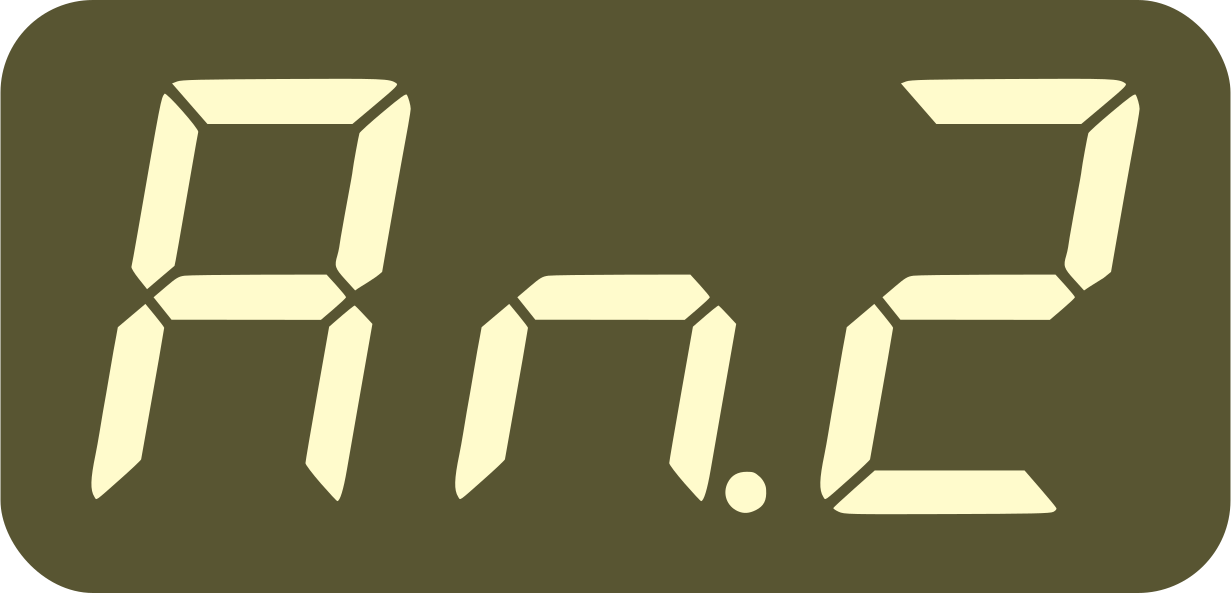 (right channel) settings.
Then connect a 3.5mm jack between the Nome’s port and your modular synth’s clock input,
and check that it follows the Nome.
(right channel) settings.
Then connect a 3.5mm jack between the Nome’s port and your modular synth’s clock input,
and check that it follows the Nome.
Sync your vintage synths
For DIN Sync equipment, such as the original Roland TB-303, TR-606, TR-808, MC-202 and CR-8000:
The Nome can sync your vintage machines by sending a DIN Sync signal to them:
Configure the Nome by setting
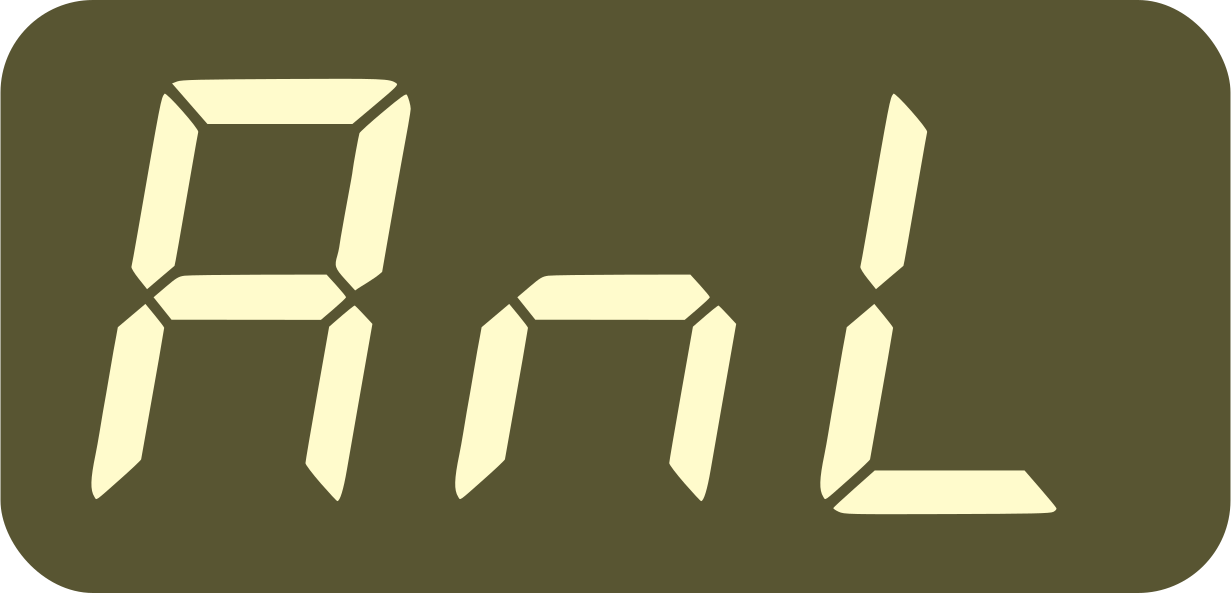 to
to 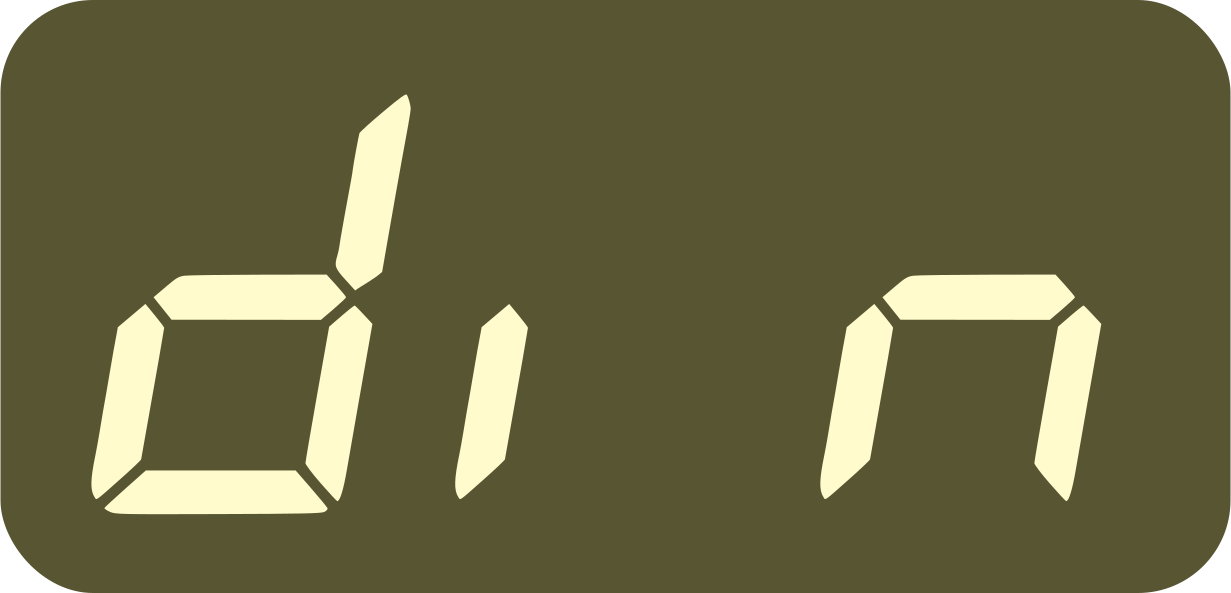 .
.Connect the
port on the Nome to the “sync in” DIN port on your vintage machine, using a special
DIN Sync adapter cable.
Do not use a usual TRS MIDI cable for this, as DIN Sync is not compatible with MIDI.Then press
on the Nome and check that your machine starts at the Nome’s tempo.
For vintage instruments with analog clock inputs, such as the SH-101 or Juno-60: check the instrument manual for the required clock rate.
Most of the other vintage gear can synchronize their internal arpeggiator or sequencer to the
clock output of the Nome.
To do so, configure the port using the (left channel) and (right channel) settings.
Then connect a 3.5mm jack between the Nome’s port and your vintage synth’s clock input,
and check that it follows the Nome.
The Nome only has one port, despite being made of two channels
(one DIN Sync connection uses both channels).
If you need more, you can:
Use a splitter cable to connect multiple devices to the same Nome output.
Use multiple Nomes - they can be synced precisely together
Time to add the DAW
Before getting into this, make sure your machines are following the Nome (sections above). The DAW will sync the Nome, which will sync your machines.
For macOS and a supported DAW: the questionnaire lists Ableton Live, Bitwig Studio, Logic Pro, Pro Tools, FL Studio, Cubase/Nuendo, Fender Studio Pro, Reaper and UA Luna. Check the U-SYNC manual for version and installation requirements.
Syncing the Nome and your DAW is done using our state-of-the-art U-SYNC technology.
U-SYNC only requires a  connection between the Nome and your computer,
it is insanely precise and very easy to set up. No dedicated audio output is needed.
connection between the Nome and your computer,
it is insanely precise and very easy to set up. No dedicated audio output is needed.
To set U-SYNC up:
Download it and install it
Load the U-SYNC plugin in your DAW
Connect the Nome to your computer via
Important: your Nome will not start your machines automatically when you start your DAW, unless you have enabled the “autoplay”
setting by setting 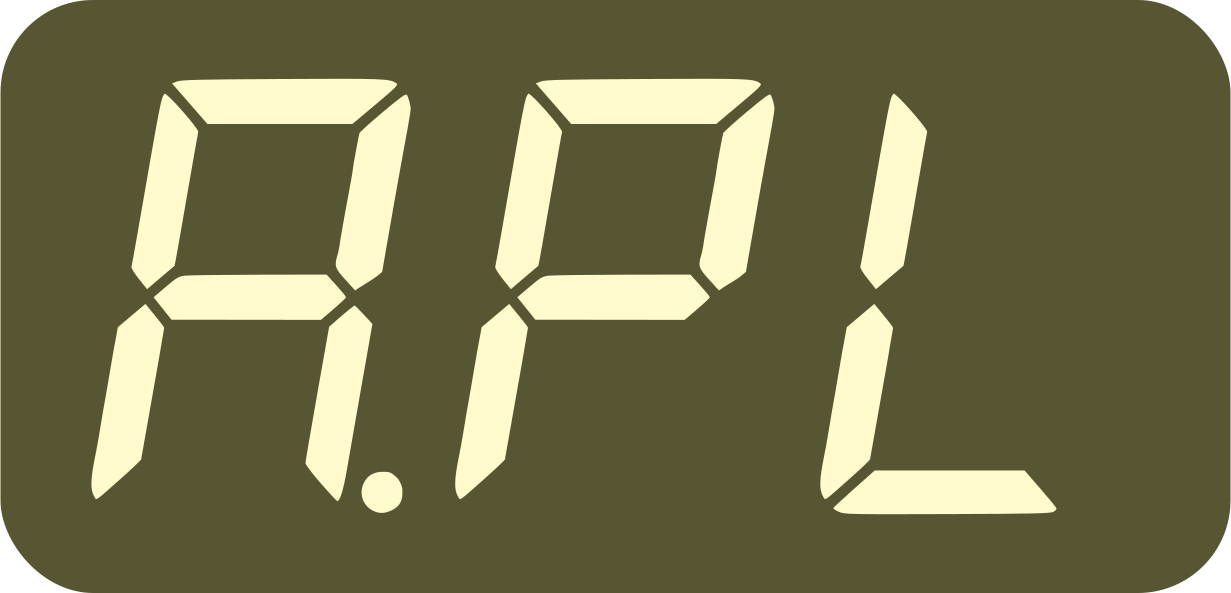 .
.
In Ableton, Bitwig, Logic, Cubase, Nuendo, FL Studio, and Reaper, the sync will be bi-directional: you can change tempo or control transport from either the Nome or your DAW.
For Windows, Linux or another DAW without official U-SYNC support: use audio pulses instead. The named Midronome plugin is an example; its available binaries do not establish support for every OS or DAW.
We recommend using our technology U-SYNC to sync Nome and your DAW, but U-SYNC is currently only available on Mac for the DAWs listed on the questionnaire.
On Windows, Linux, or a DAW without official U-SYNC support, you can still sync the Nome to your DAW using this method:
Dedicate one physical audio output for sync.
In your DAW, send regular short sounds to this output (you can use a plugin to generate them like our old “Midronome” plugin).
Connect this output to the Nome’s
 plug.
plug.On the Nome, set
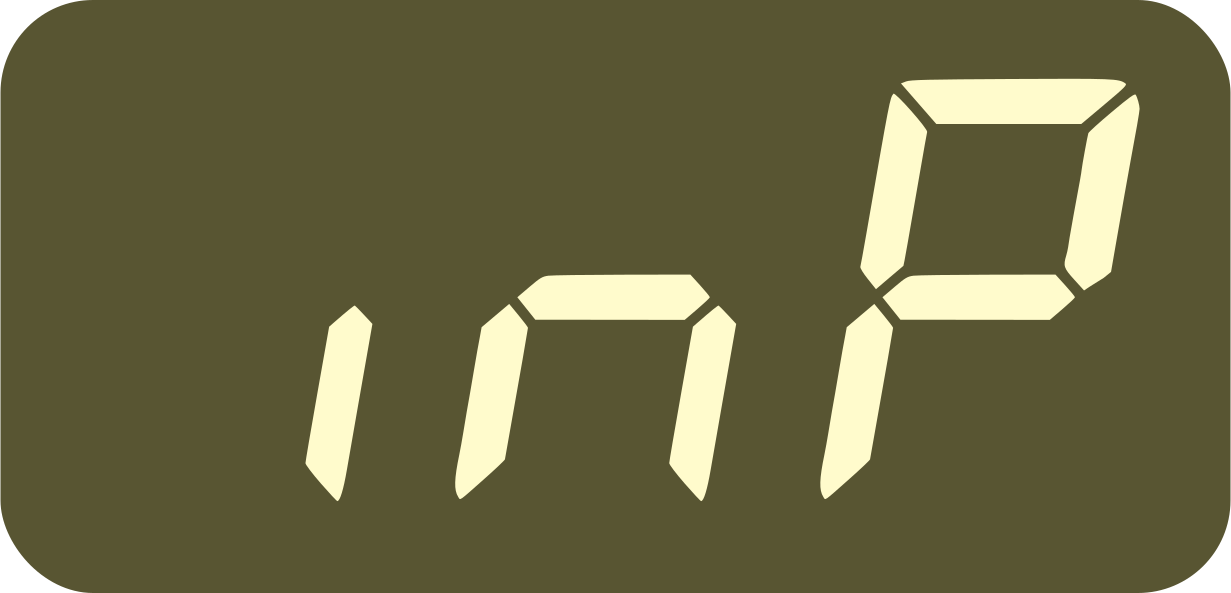 to match the speed of your audio - use
 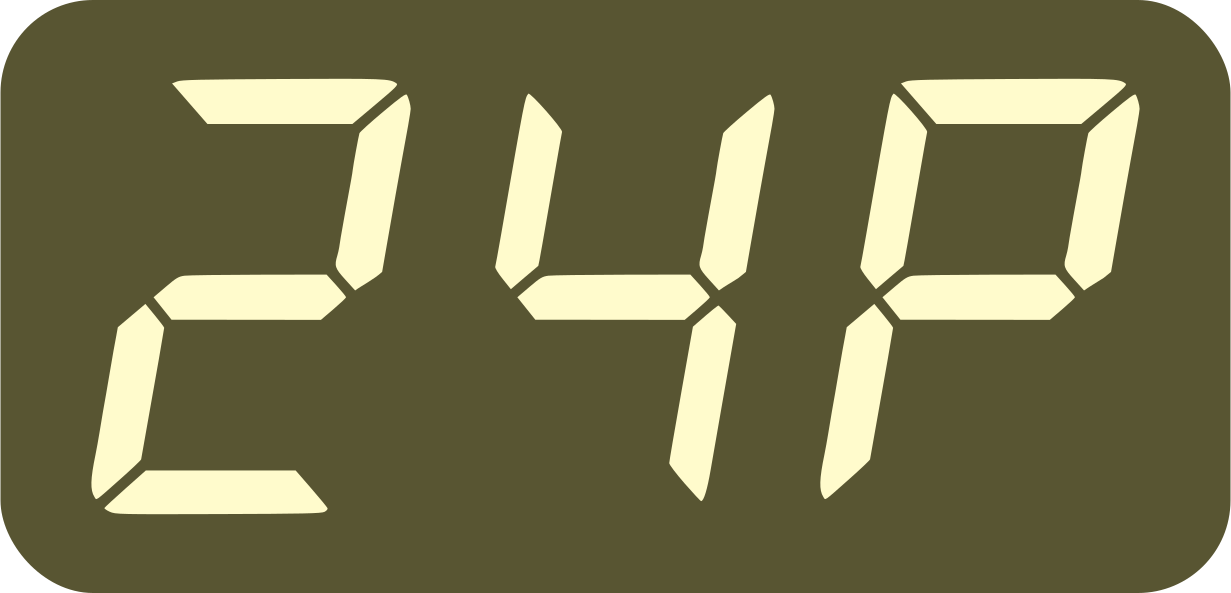 for the Midronome plugin.
Start DAW playback and check that the Nome follows, and that its
 LED lights up.
PS: we plan on releasing a new version of U-SYNC, with support for Windows. Stay tuned!
For standalone operation without a DAW:
Choose your play behavior
The Nome is designed to follow its internal timing, which is always running.
You can see which beat it currently is on by looking at  , or by listening to its metronome (click track).
When you press on the Nome, you can either:
Start on the next bar (waiting for the purple color on
) - this is the default behavior.Change the
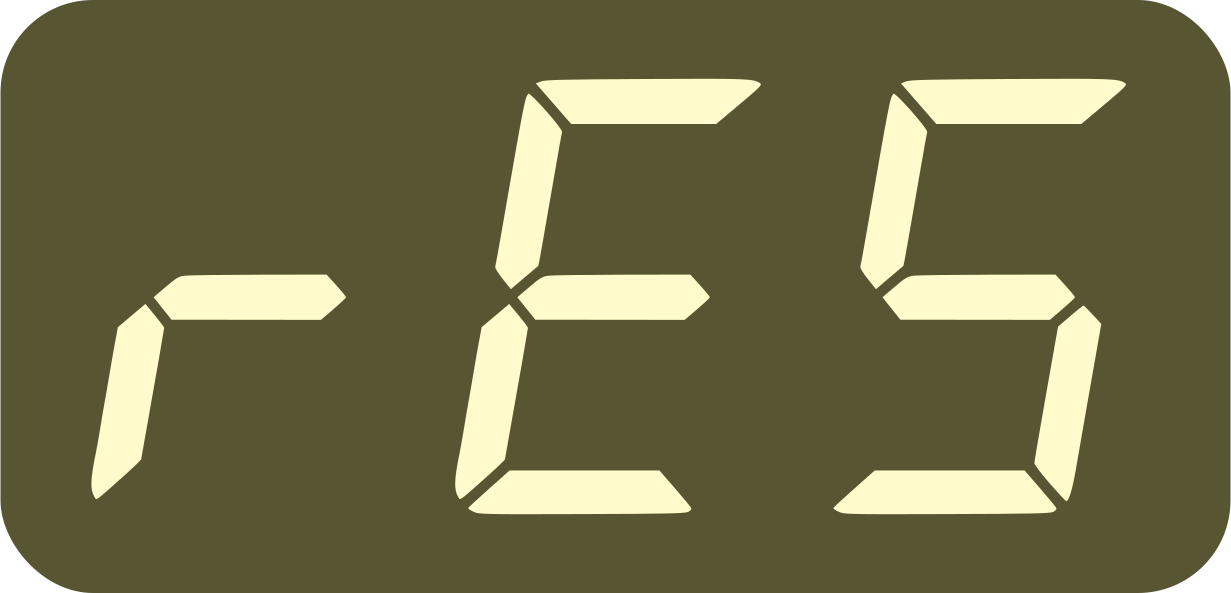 (Reset mode) setting to start immediately, “resetting” the bar to when is pressed.
Whichever you choose, the internal timing, the click track, and all your machines will always be in sync with each other.
For DJ equipment: a dedicated regular pulse signal is required; Nome II does not detect the beat of an ordinary song or live audio.
DJ equipment
Nome II currently has no native direct synchronization with DJ equipment. But if you are not syncing the Nome to a DAW, and if your DJ turntable has an extra audio output, the Nome can follow it:
Send regular audio sounds at the song’s BPM on that output.
Connect it to the Nome’s
plug.On the Nome, set
to match the speed of your audio.Start playback on your DJ equipment and check that the Nome follows, and that its
LED lights up.
See Sync to an analog clock or an audio signal for more info.
PS: we also are working on a hardware expansion for the Nome designed to add synchronization via Ableton Link and Pro DJ Link, which should make it possible to sync natively and easily with most DJ equipment. Stay tuned for more info.
Get the live band on time as well
The large BPM display, rugged metal case, large knob and many remote control options make the Nome ideal for live setups!
For a drummer who can follow a click:
To send the click track to your drummer, connect headphones to the  port,
and set the headphones/line-out switch (
port,
and set the headphones/line-out switch (  ) to the headphone position (
  ).
).
Alternatively, set the switch to the line-out position (  ), and use a TRS jack cable to send the click track to a balanced line input
on your in-ear monitor mixer.
), and use a TRS jack cable to send the click track to a balanced line input
on your in-ear monitor mixer.
The metronome can use subdivisions on 8th and 16th notes when changing the bar signature setting 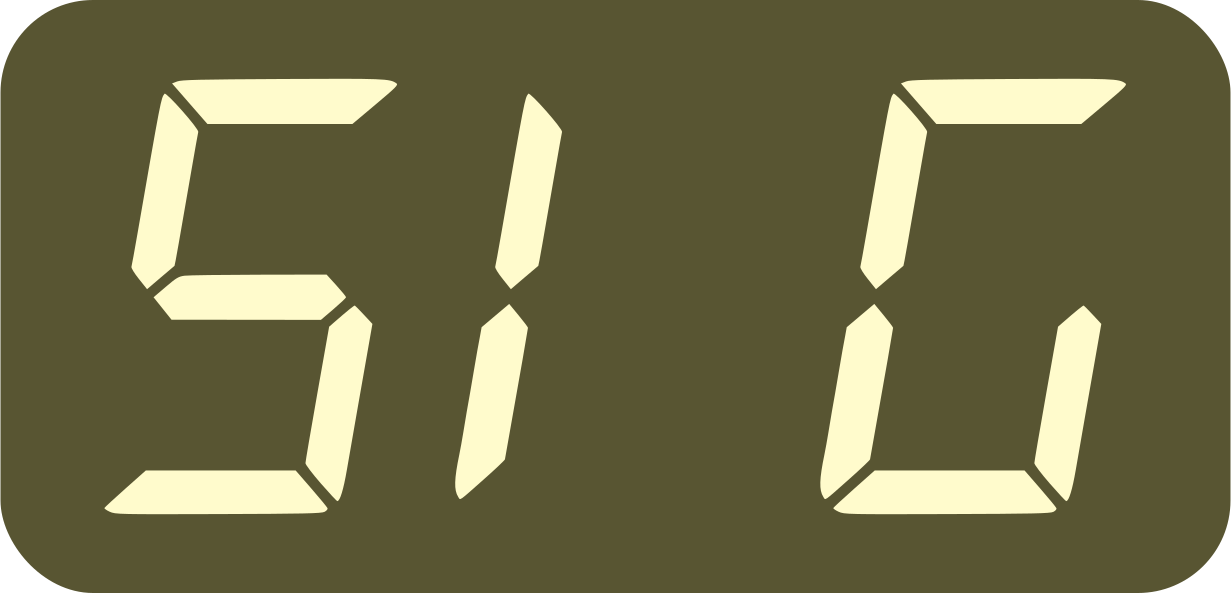 .
Each sound and volume is configurable, you can choose between 60 different click sounds, and even upload your own custom
sounds using the Config Tool.
.
Each sound and volume is configurable, you can choose between 60 different click sounds, and even upload your own custom
sounds using the Config Tool.
For remote control, connect pedals, a drum pad/trigger to the port. Configure it using the 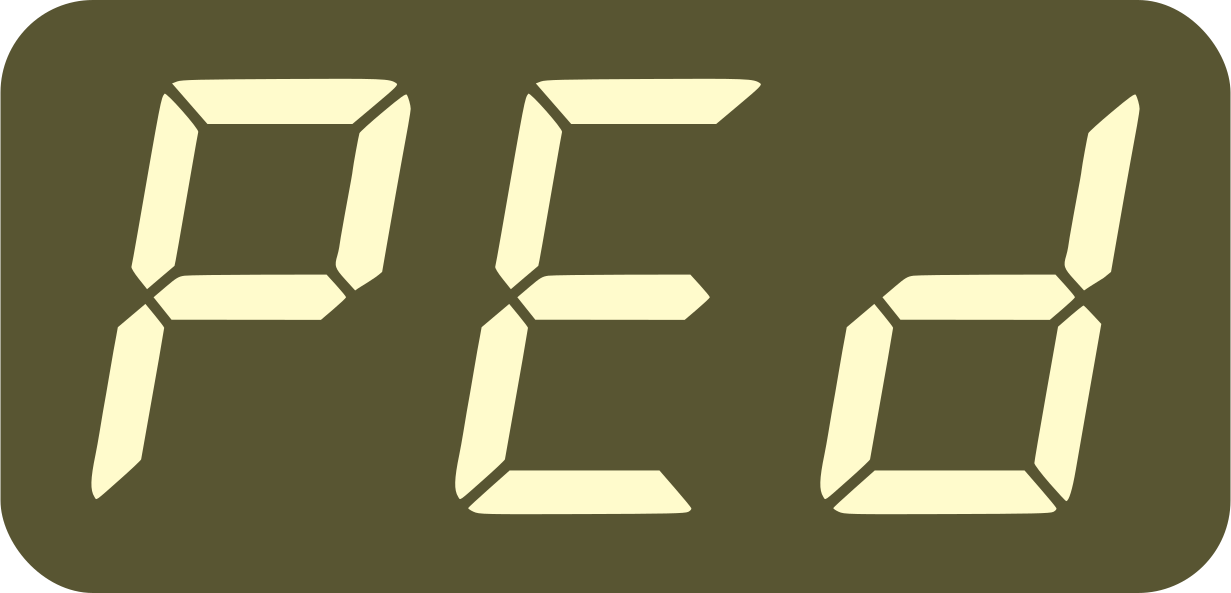 and settings.
You can use those to tap tempo, start/stop the Nome, load tempo presets, or even mute/unmute the metronome.
and settings.
You can use those to tap tempo, start/stop the Nome, load tempo presets, or even mute/unmute the metronome.
For a drummer who does not follow a click: timing must be adjusted by tapping; this is not automatic beat detection.
You can get the Nome to “manually” follow your drummer by regularly adjusting it. Start the song by counting off one bar with the band, so that the band and the Nome start on time and at the same tempo.
Then, when the live music starts to drift, use Smart Tap Tempo to smoothly readjust the timing of the electronic instruments to match the band.
See Count-off: count done by the musician and Catch up live timing with Smart Tap Tempo for more info.
Both the count-off and the Smart Tap Tempo can be done using:
The
buttonA pedal or footswitch connected to the
port (configured with the and 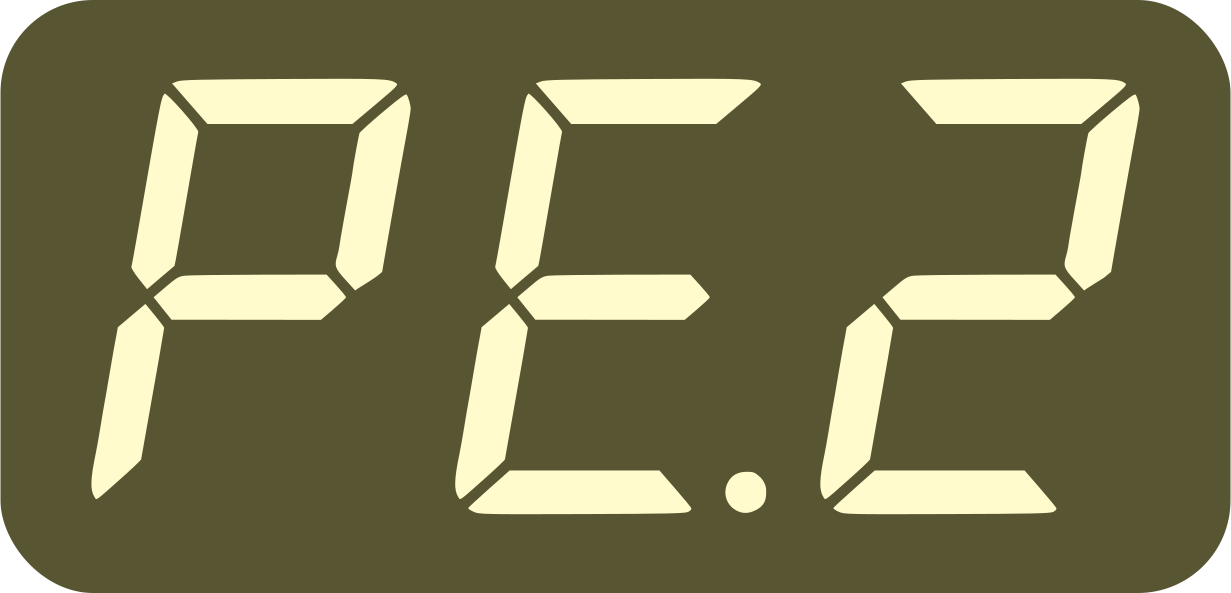 settings)
A drum pad or drum trigger connected to the
port (configured with the setting)A MIDI device sending regular MIDI CC messages to the Nome
You can use multiple of these methods at the same time, for example having the Nome sitting by the synth player, and a drum pad or pedal for the drummer to tap on.