
Settings
The settings are different configuration options changing the way the Nome will act or react, when for example a button is pressed, or when a piece of hardware is plugged in.
Because it is so versatile, the device has many settings and a lot of different possibilities to configure it. But you probably only want to change a few to fit your setup, so it’s just a matter of having a quick overview of what’s possible, changing it, and forgetting about it.
Editing the settings
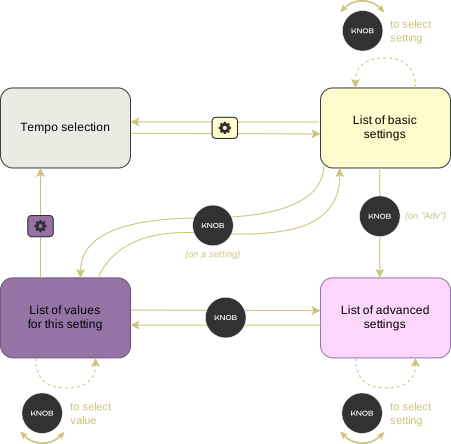
The settings are accessible by pressing  .
.
Use  to select, change, and save a setting value.
Step |
Knob turn |
Display example |
|---|---|---|
Tempo selection |
Changes the tempo |
|
List of basic settings |
Changes the selected setting |
|
List of advanced settings |
Changes the selected setting |
|
List of values for this setting |
Changes the value of this setting |
|
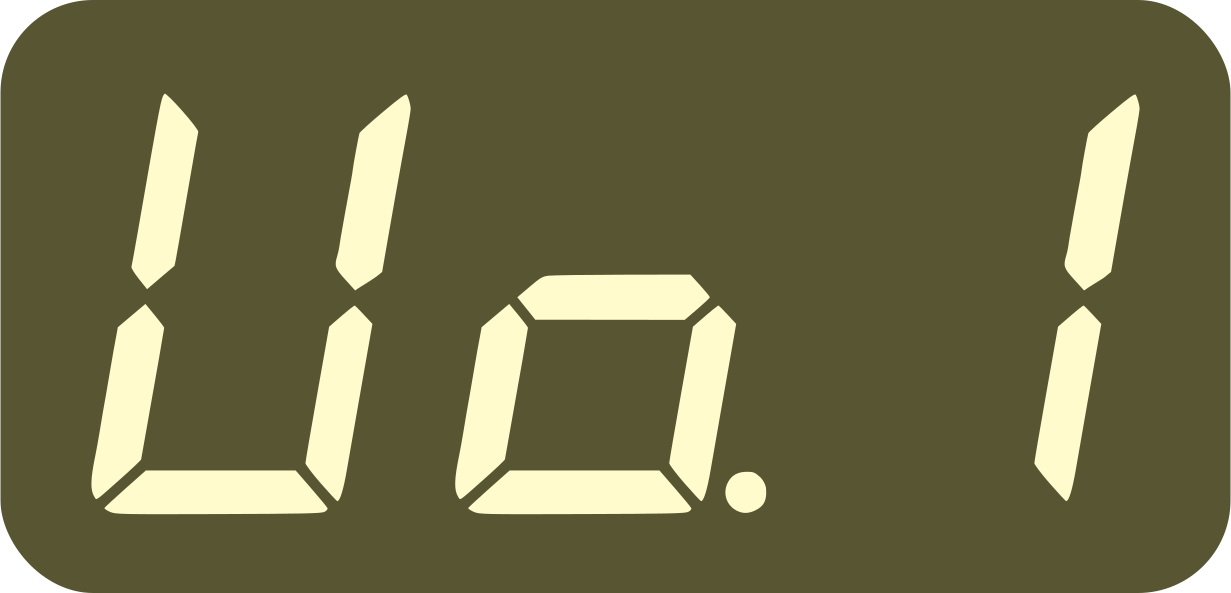
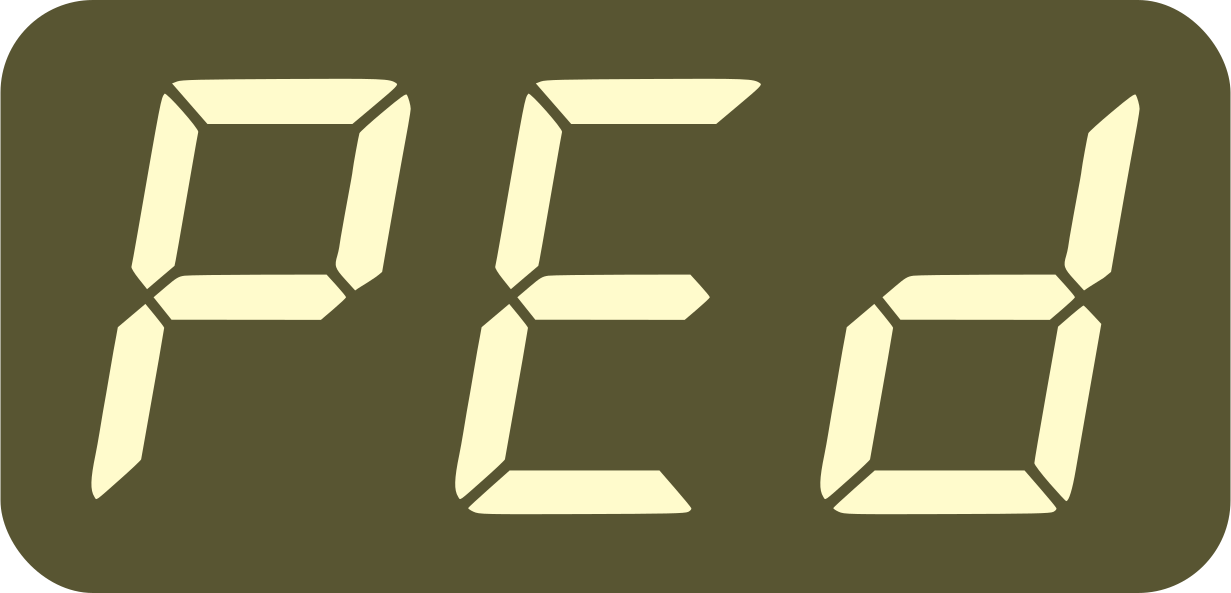
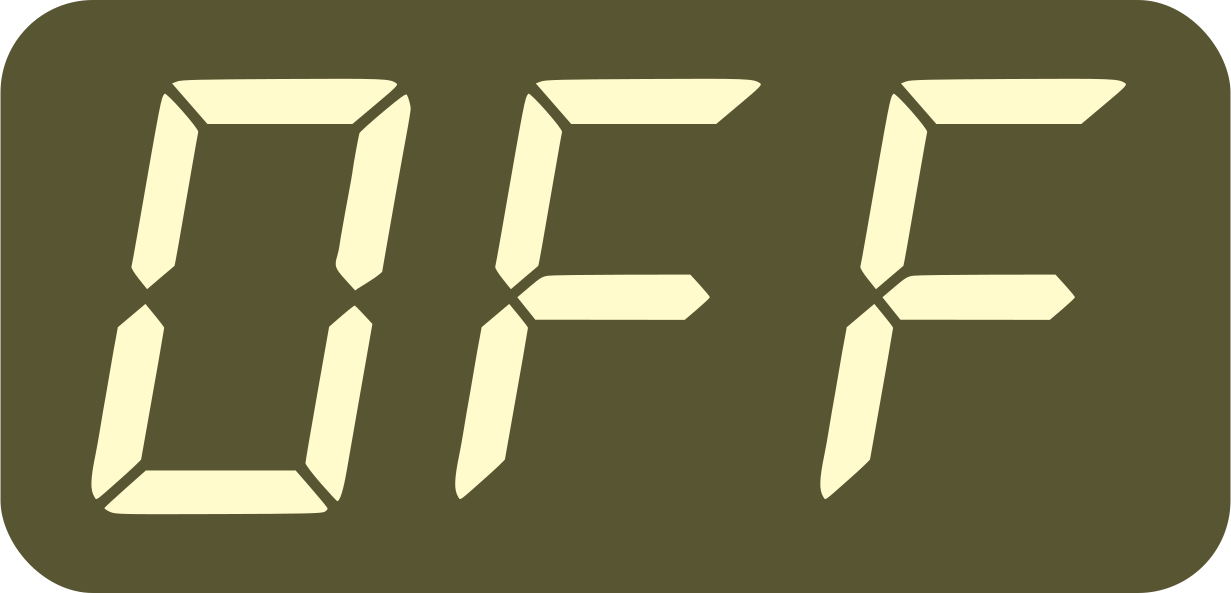
The color of the setup button will change according to the
step: 

All settings are saved and applied automatically. They are also preserved when the firmware is updated.
Reading letters and abbreviations on the display
Understanding what the display is telling you can be a bit tricky if you are not used to it. This is the alphabet used by the Nome:
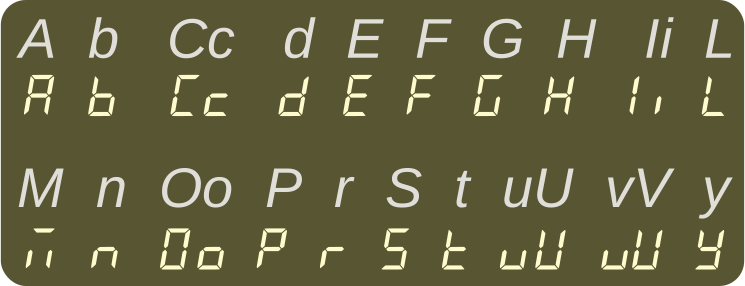
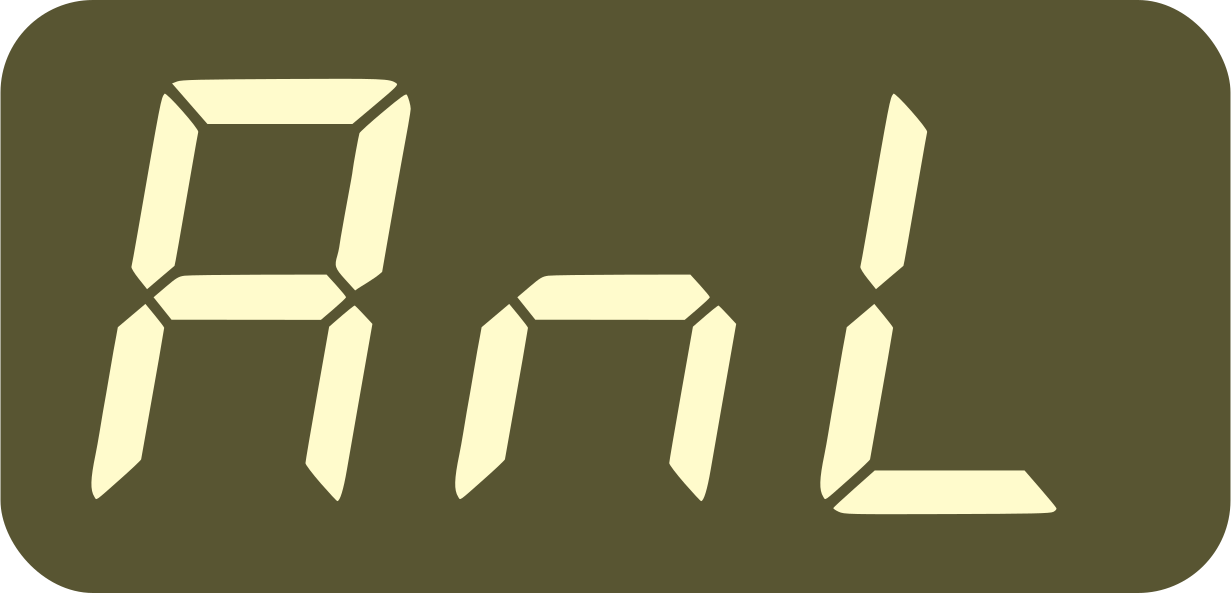
Note that the dot is used for separation, for example: 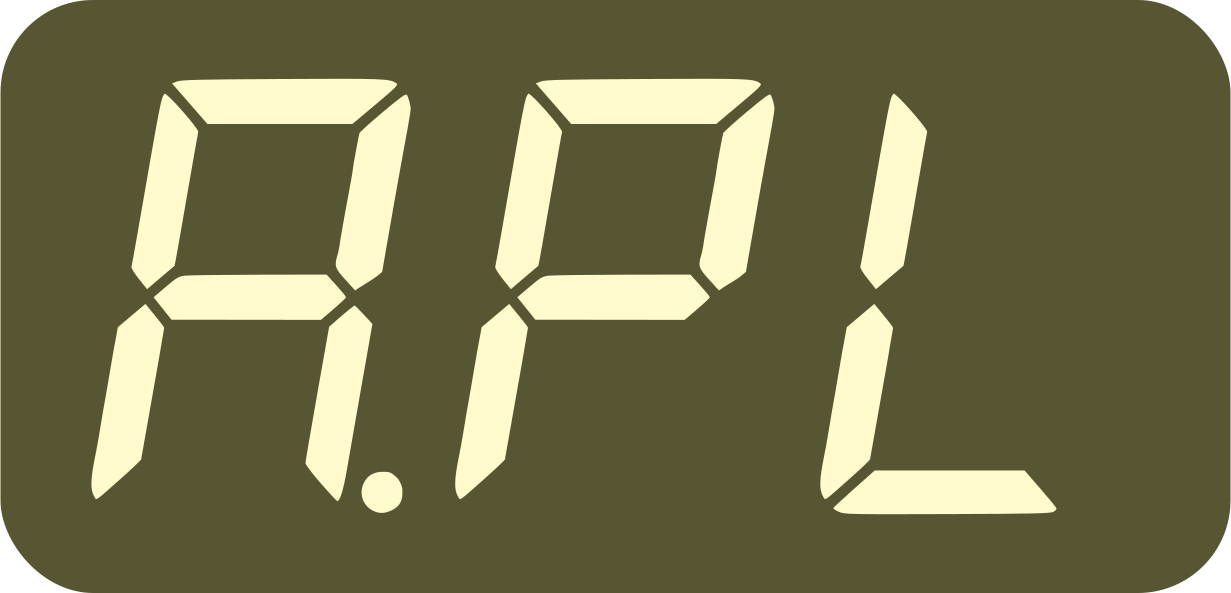 reads
Auto-Play.
reads
Auto-Play.
The 3-letter abbreviations used are trying to be as clear and as consistent as possible.
Here is a list of all setting names abbreviations and their meaning:
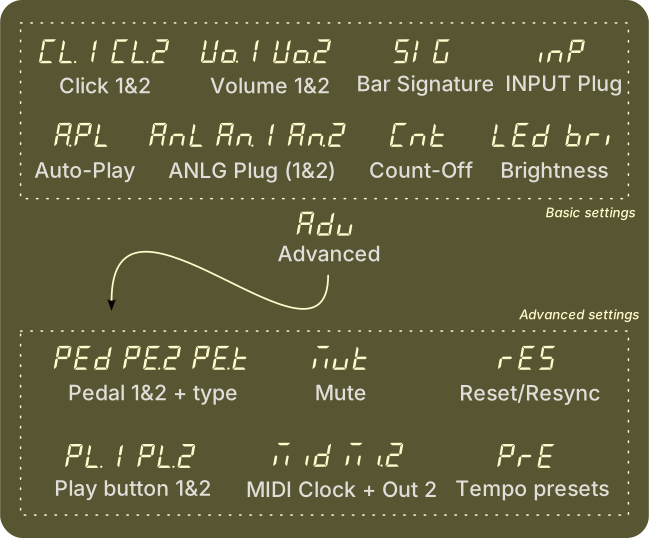
And here are some of the other abbreviations used (as setting values, among others):
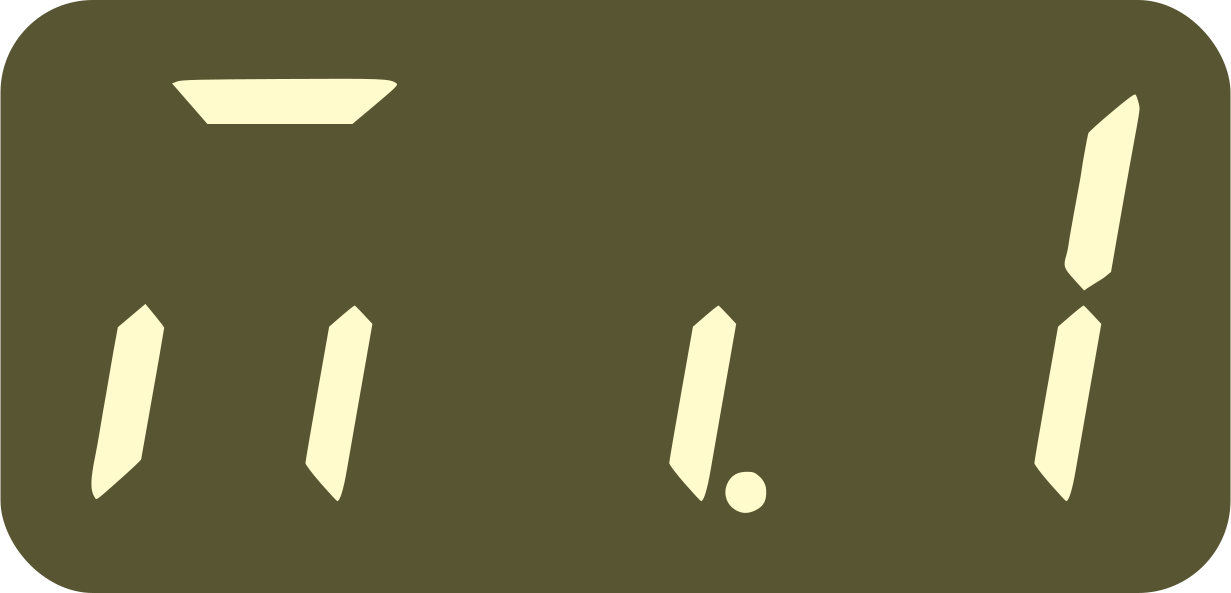 &
& 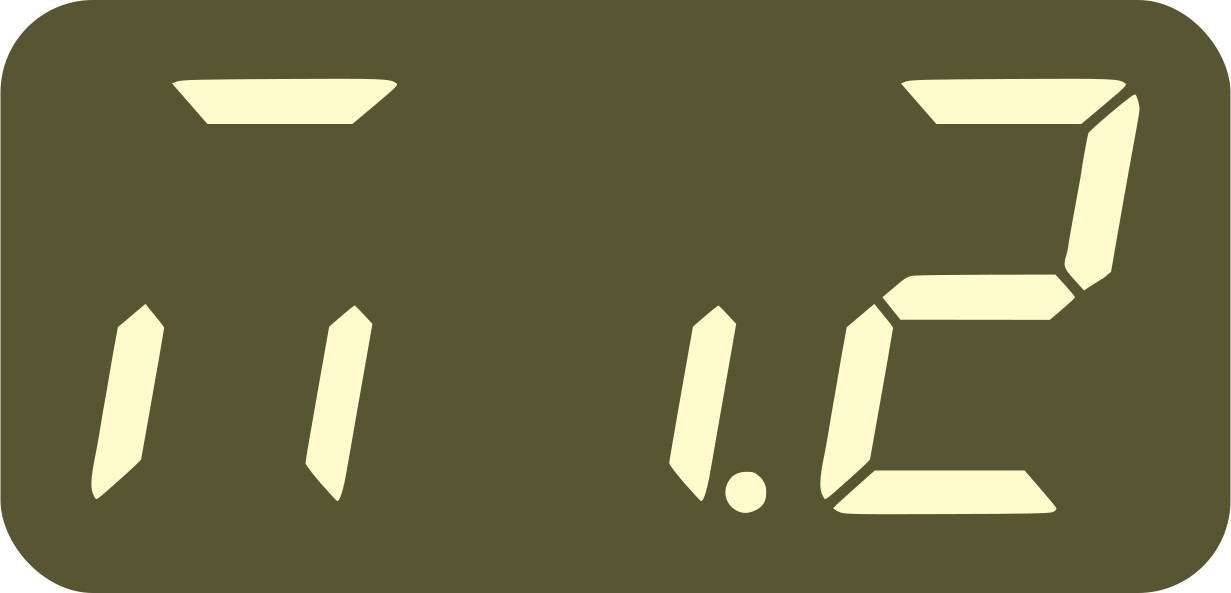 : MIDI Output 1 and 2 (on the back of the device)
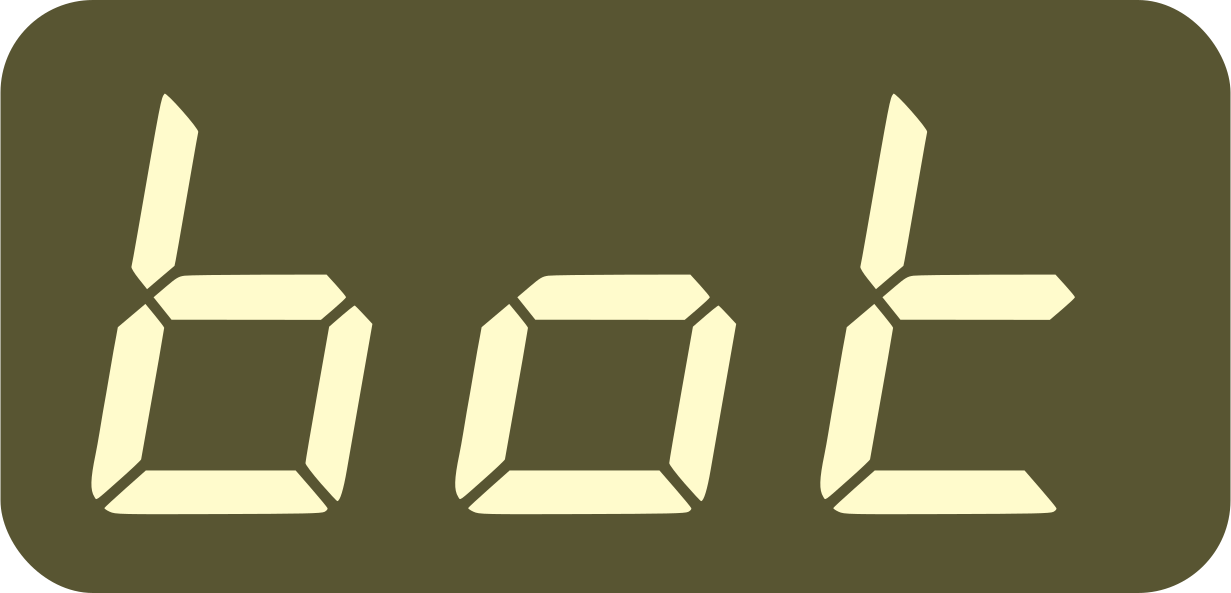 : both MIDI Outputs (1 and 2)
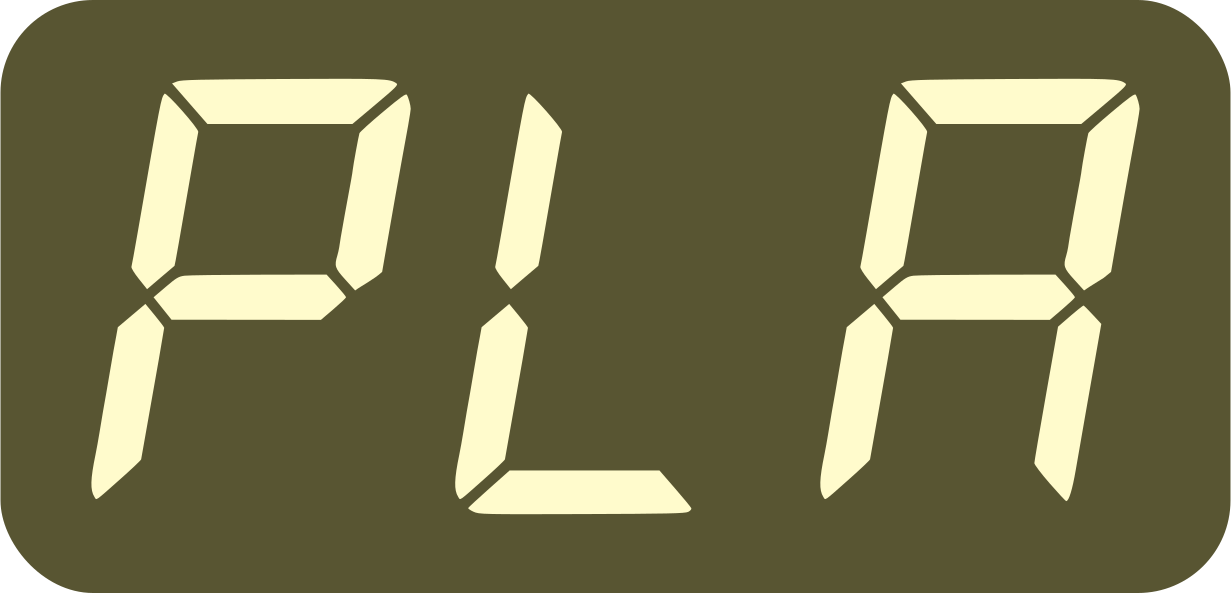 : Playing function, i.e. the ability of doing start/stop
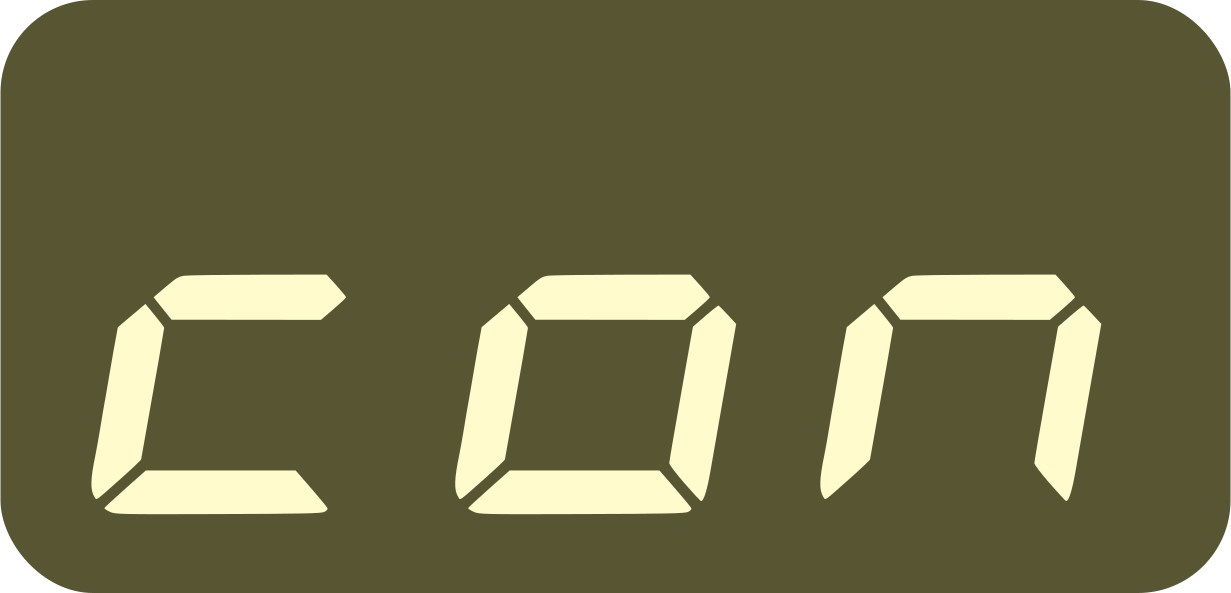 : constant, i.e. something that is permanently on
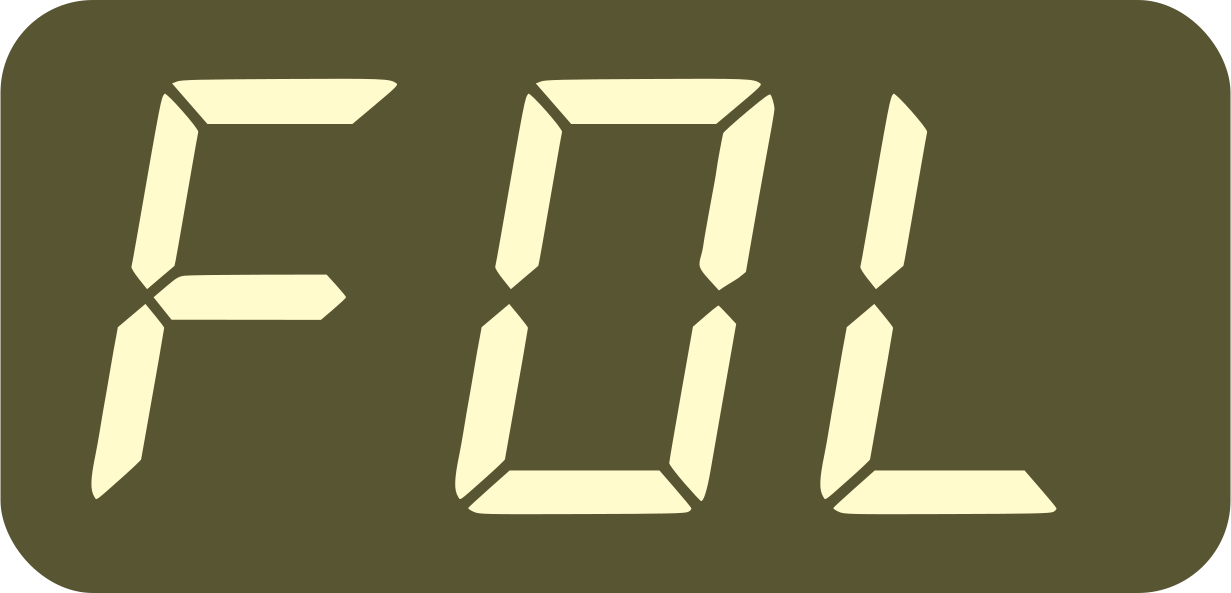 : follows Play, i.e. something that is only on after a
Play button is pressed
: follows Play, i.e. something that is only on after a
Play button is pressed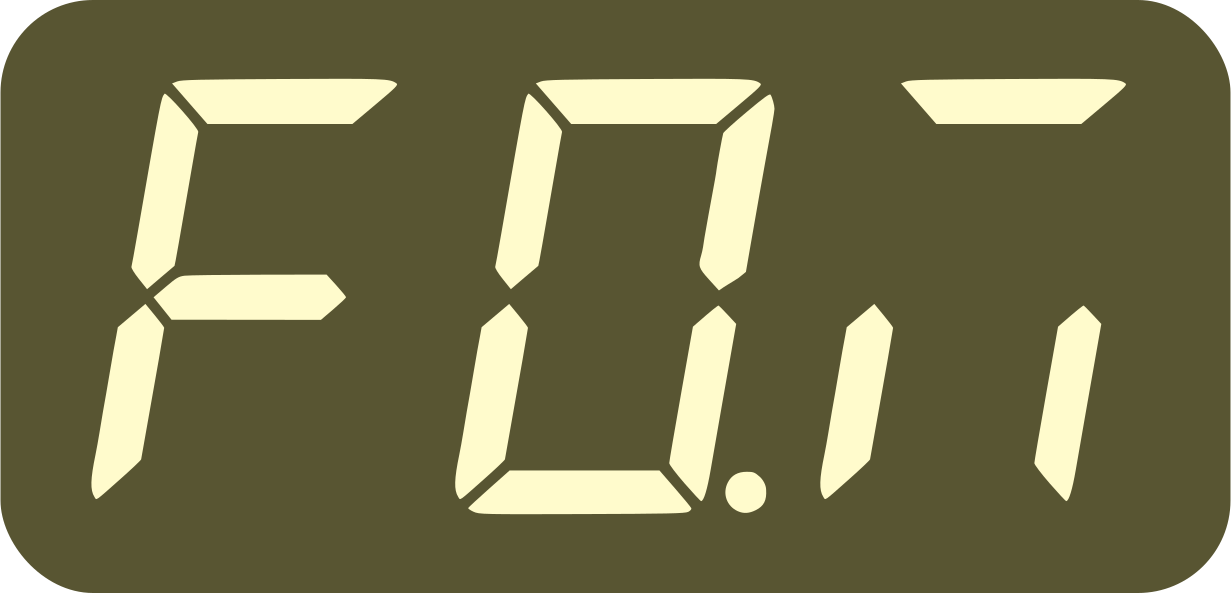 : follows Mute, i.e. something that is on when the metronome
is unmuted
: follows Mute, i.e. something that is on when the metronome
is unmuted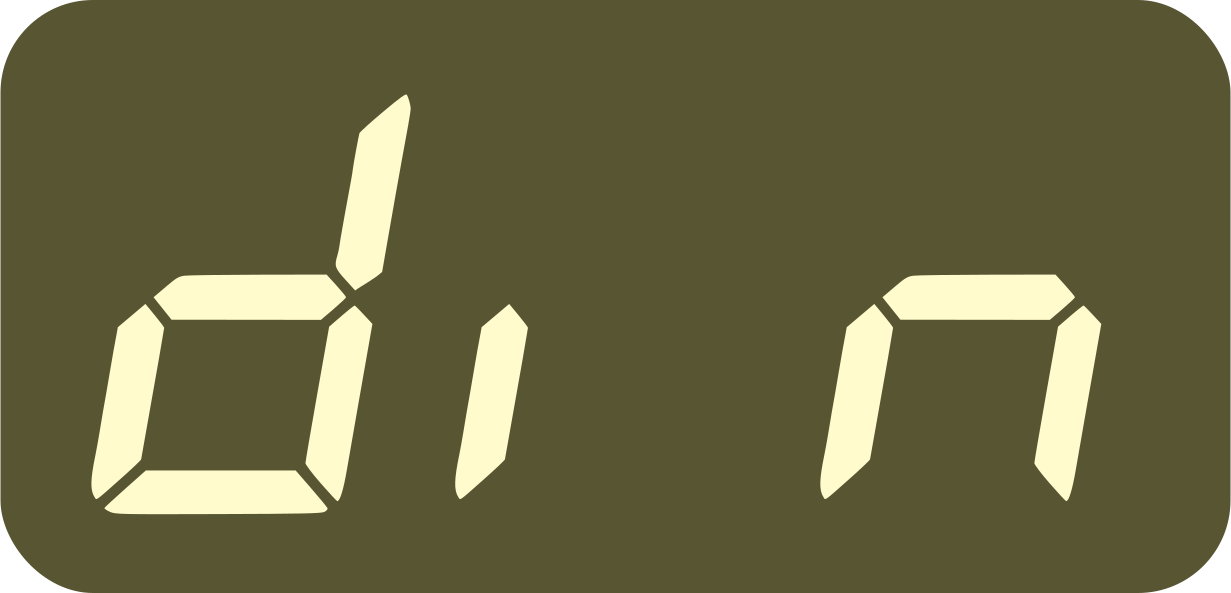 : DIN Sync mode (also called sync24)
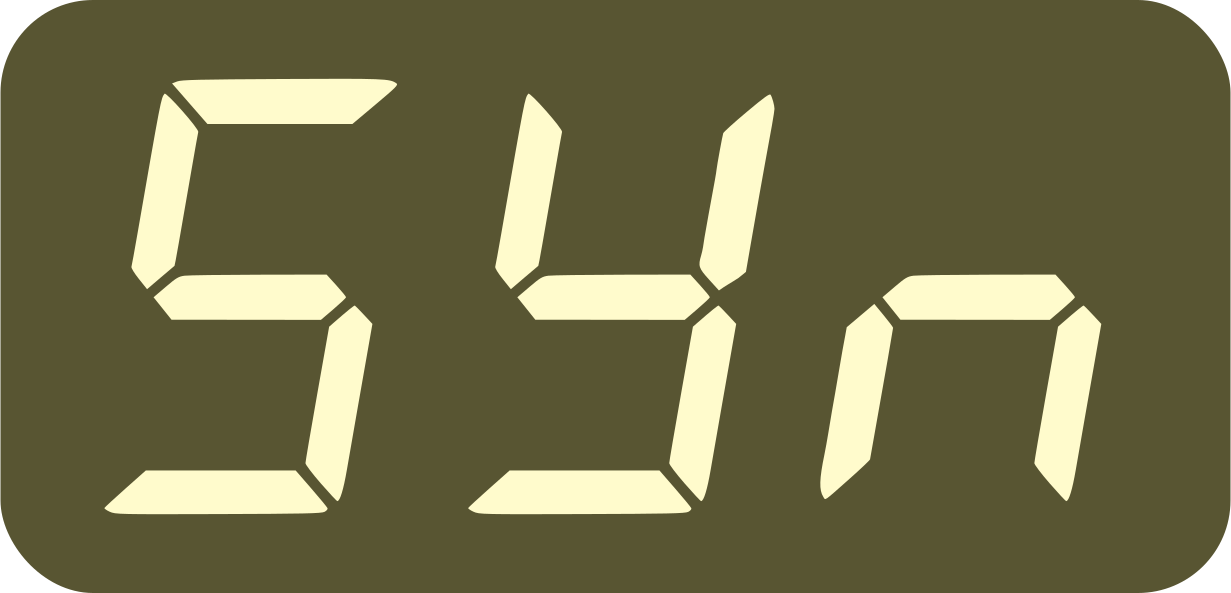 : resyncing, typically sent on the device’s MIDI and ANLG
outputs
: resyncing, typically sent on the device’s MIDI and ANLG
outputs
Considerations on how to configure your Nome
There are quite a lot of settings, but most of them are very simple. Just have a quick look at the list so you know what is possible, and you can forget about the settings that do not concern you.
Most users report they went to the settings once, to customize their Nome to their liking, then never went back in again.
To make it less overwhelming, they are separated in two lists, the advanced settings being less likely to be changed regularly.
Note that whenever the device has to choose between MIDI Output 1 and 2 to trigger an action, MIDI Output 1 is chosen. In other words,
For example:
When the TAP LED, the Mute function, or the ANLG outputs “follow play”, they will follow whether MIDI Output 1 is playing or not
When configured in DIN Sync mode, the ANLG output follows MIDI Output 1
When the first play button is configured to act on both outputs, it will light up according to MIDI Output 1
On the other hand, when it’s explicit, the Nome chooses the appropriate output.
For example:
any configuration on the ANLG ring/right
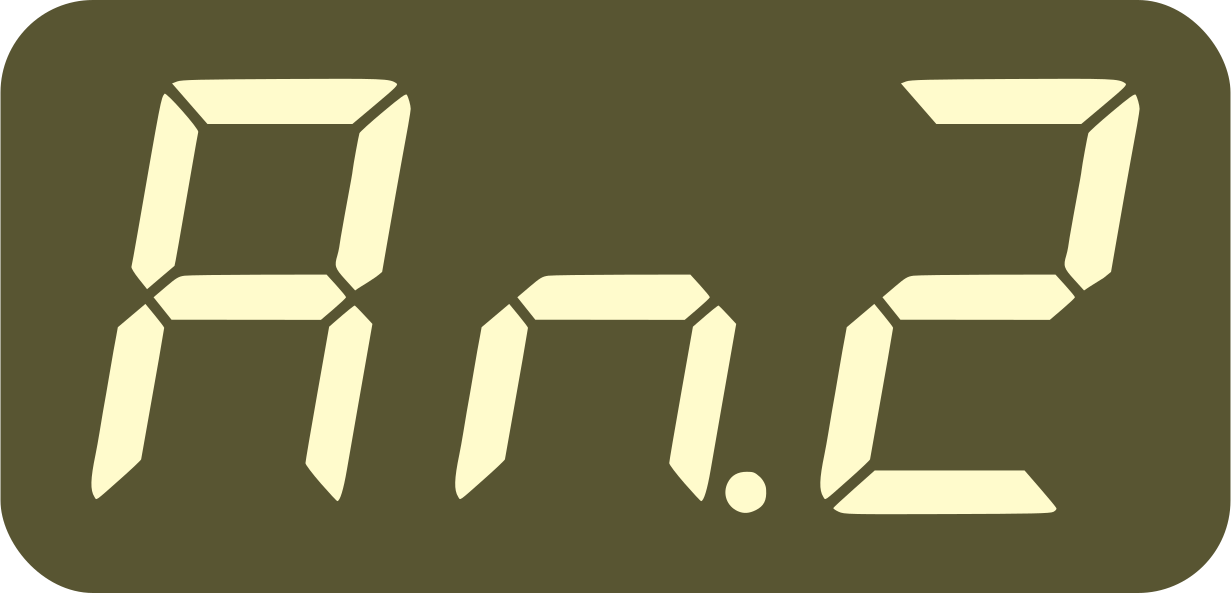 will follow MIDI
Output 2
will follow MIDI
Output 2
(while
will follow output 1)
The second play button will always act on MIDI Output 2
Two pedals configured as
will each act on their own output
The list of basic settings
Setting |
Meaning |
Values |
|
Sound for Click 1 (downbeat) |
|
|
Sound for Click 2 (other beats) |
|
|
Volume of Click 1 (1) |
|
|
Volume of Click 2 (1) |
|
|
Time signature |
Bar signature from 1/2 to 32/16 (16 shown as ö). For example:
(to change the denominator quickly, hold down the knob and turn) |
|
INPUT Plug Mode |
|
|
Auto-play Mode |
(the two ANLG outputs always follow their respective MIDI
output, so these will also play if |
|
Analog Clock Mode |
|
|
Analog Clock 1 Speed (left/tip part of the ANLG TRS plug) |
|
|
Analog Clock 2 Speed (right/ring part of the ANLG TRS plug) |
|
|
Count-off Mode |
|
|
TAP LED brightness |
|
|
Display Brightness |
|
|
Advanced settings |
Opens the list of advanced settings |
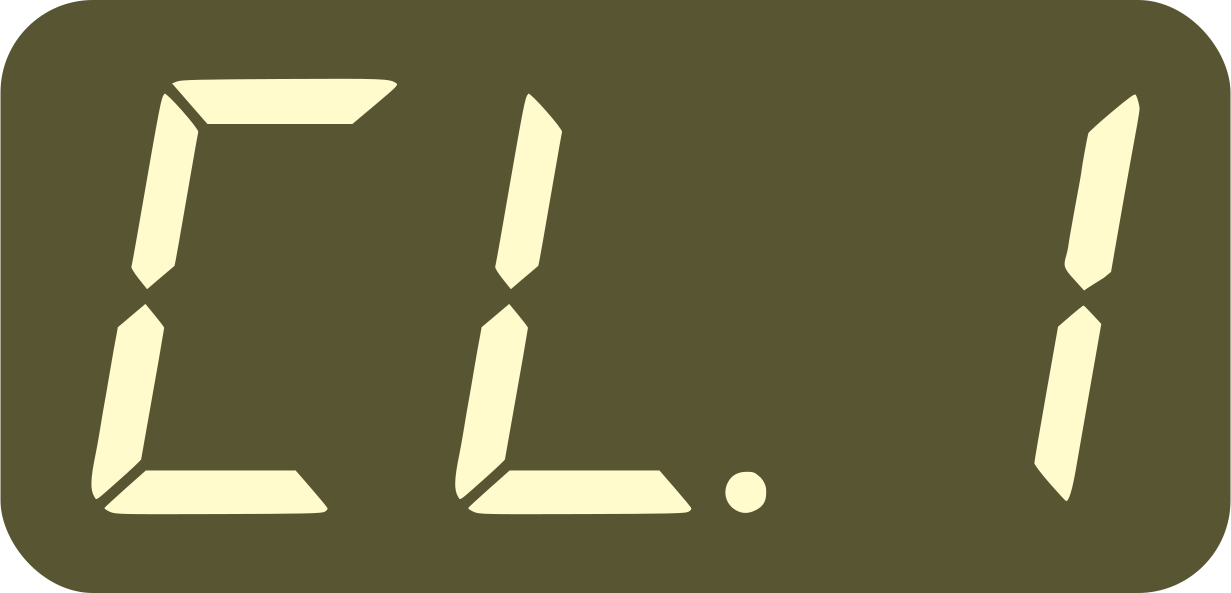
 to
to 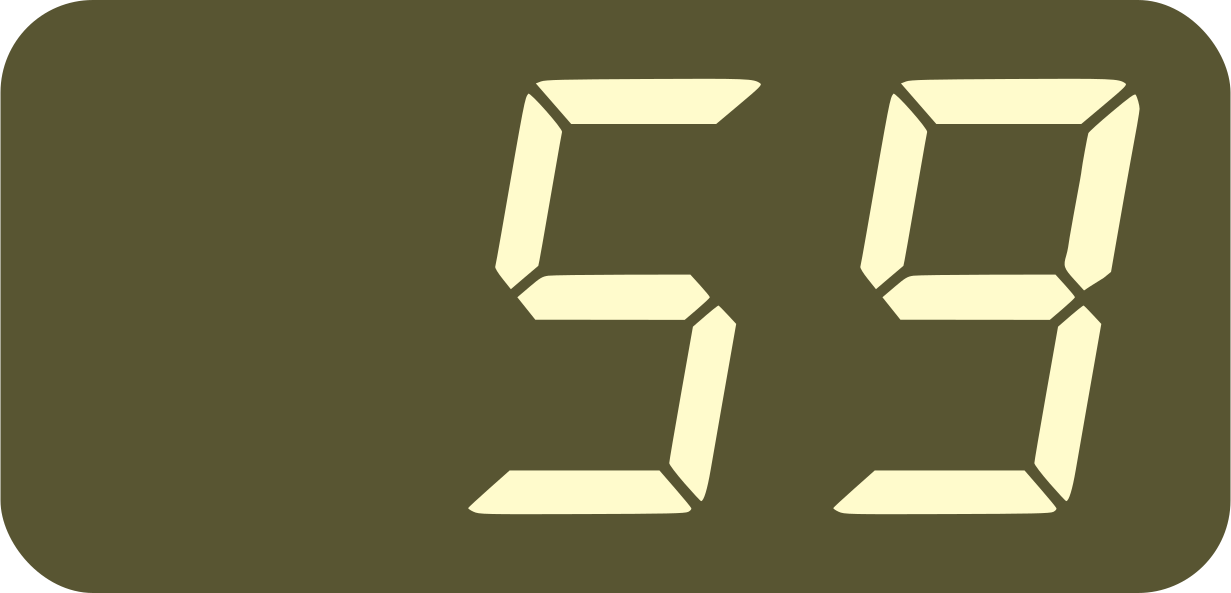 - sound selection for the metronome click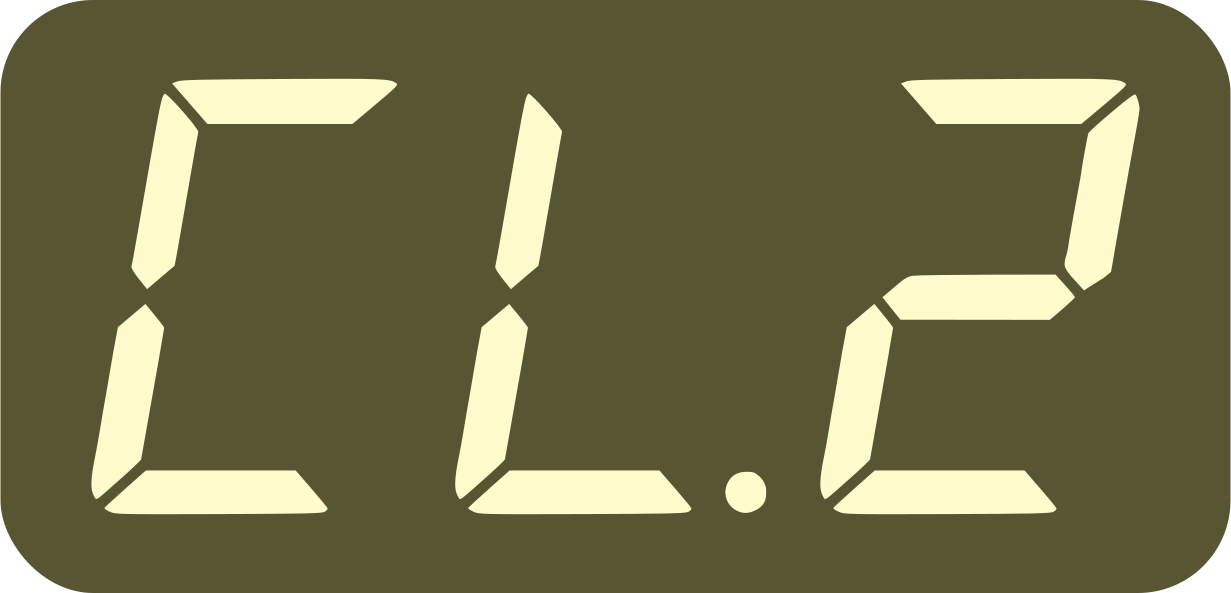
 Volume of the metronome click (in 6dB steps)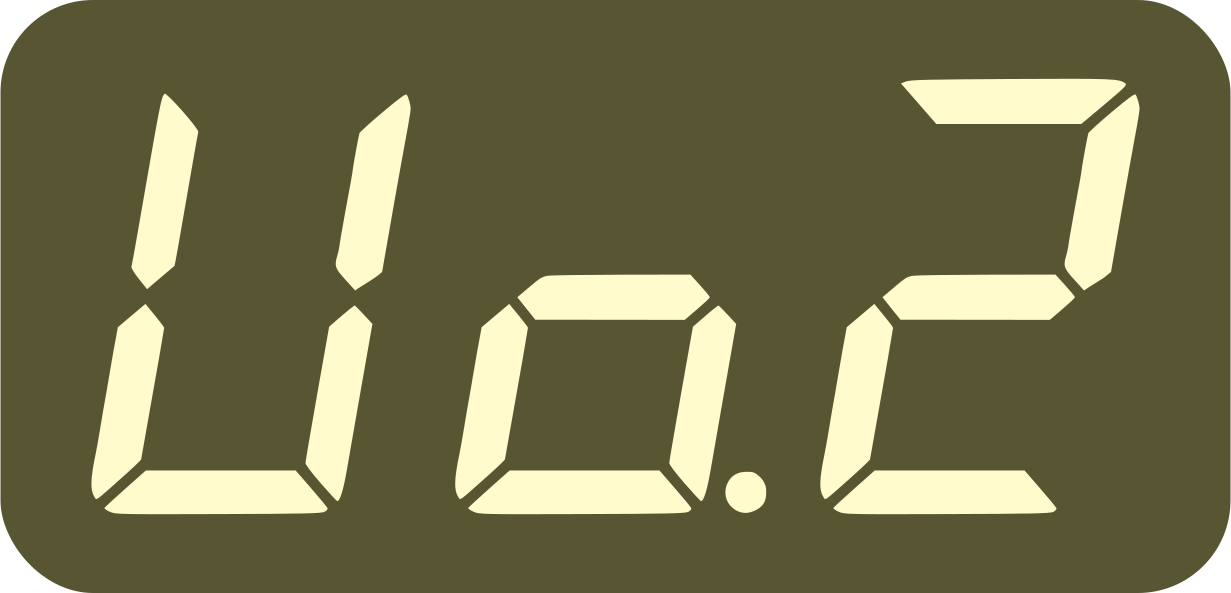
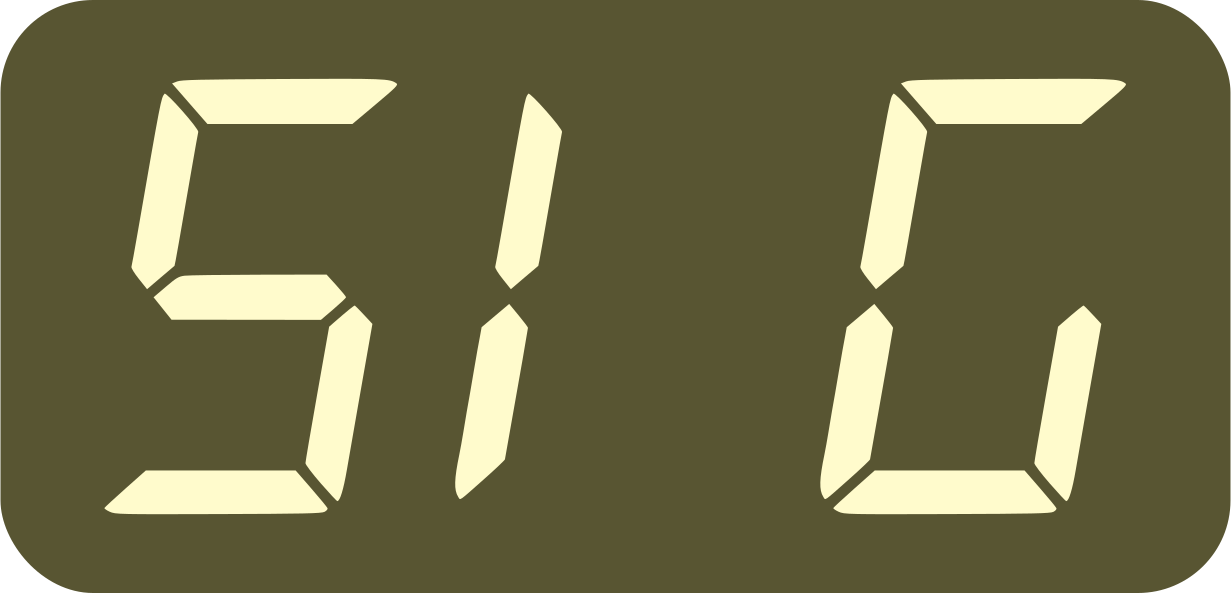
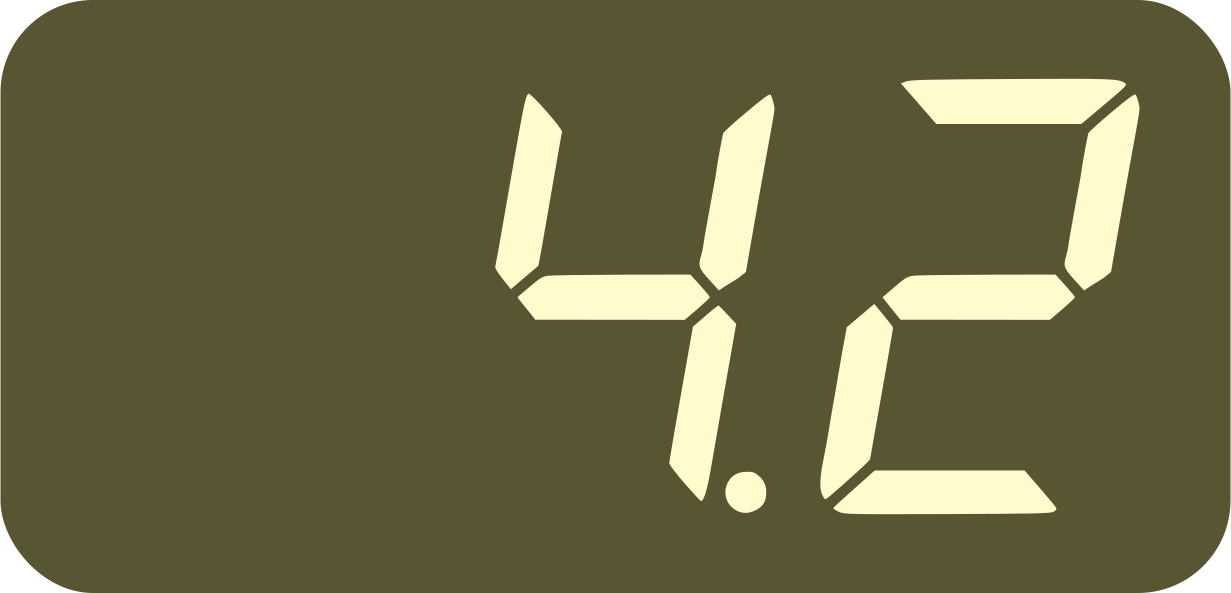 for 4/2
 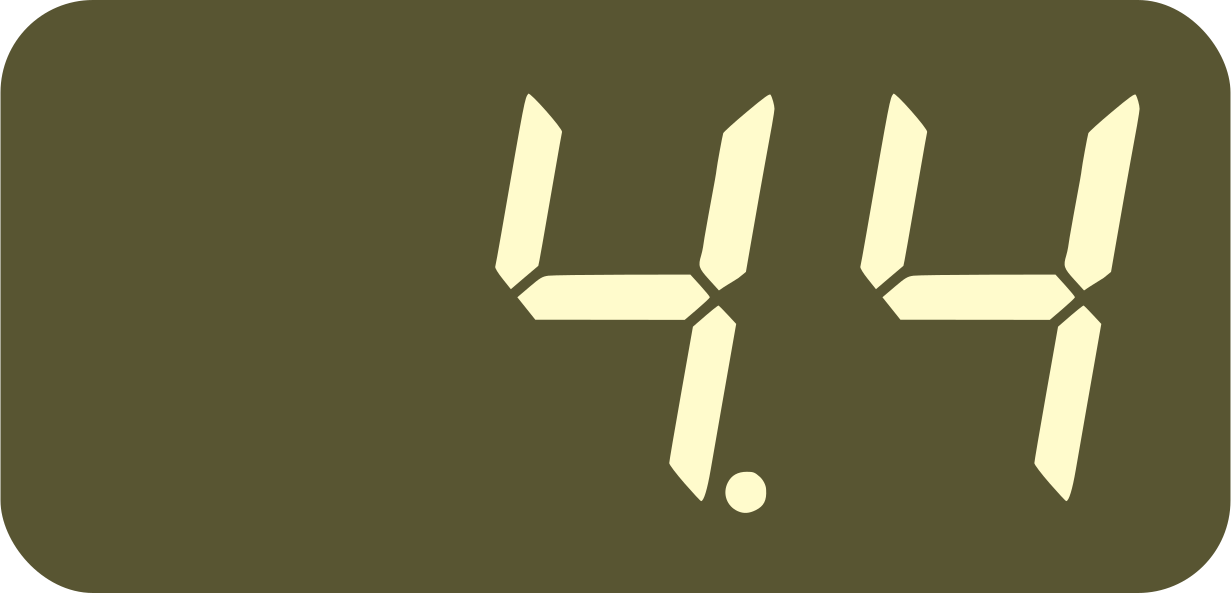 for 4/4 (default)
 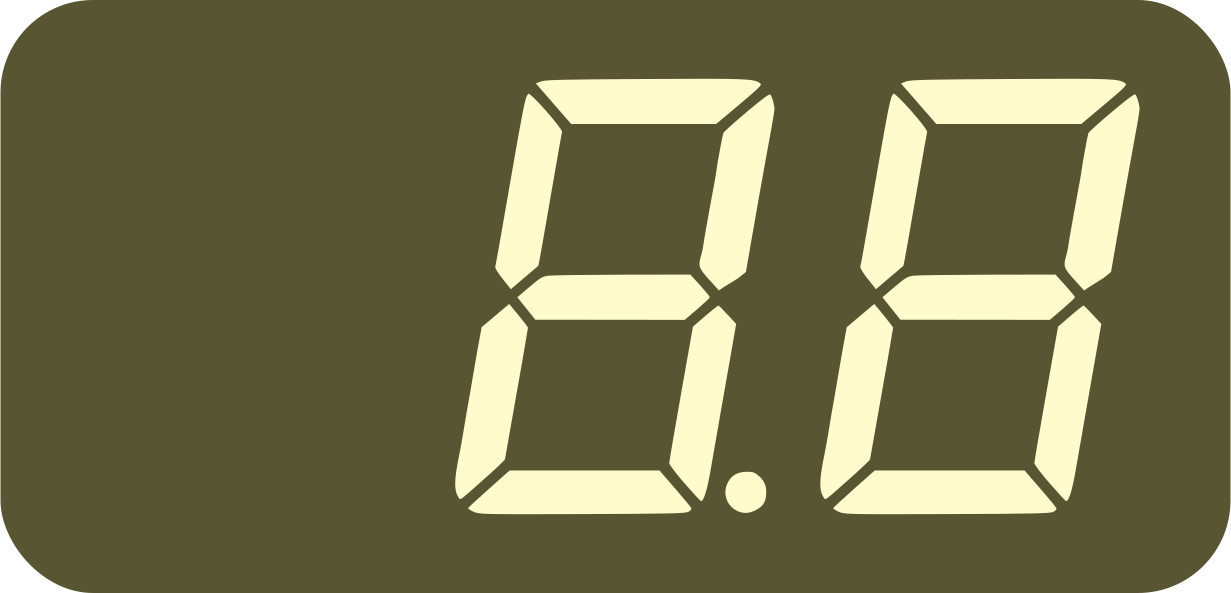 for 8/8
 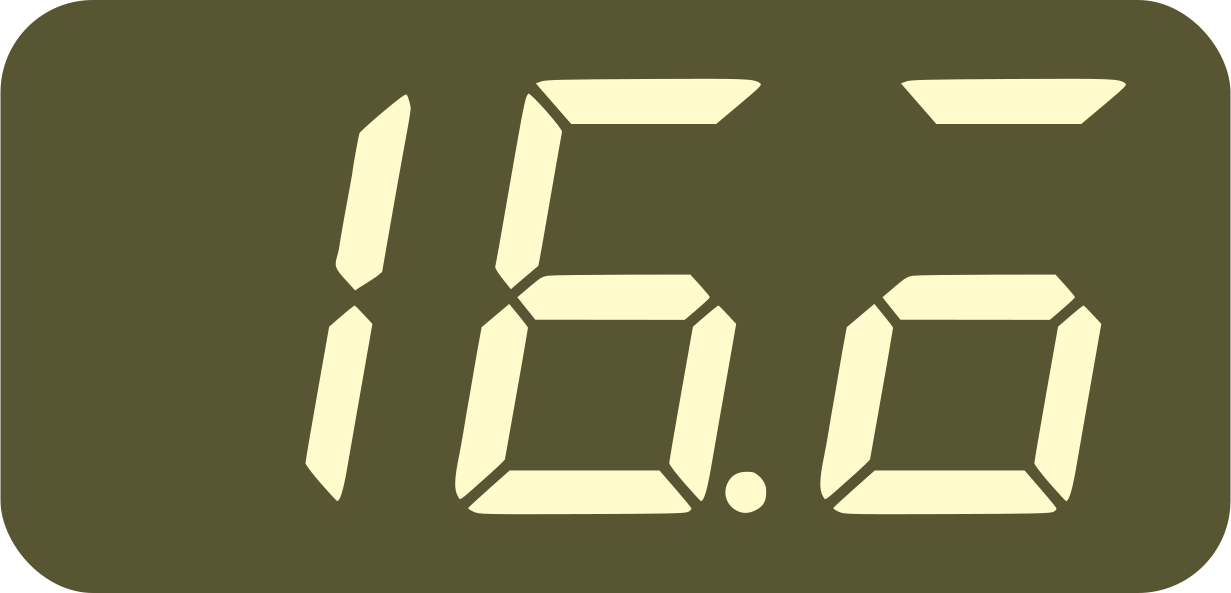 for 16/16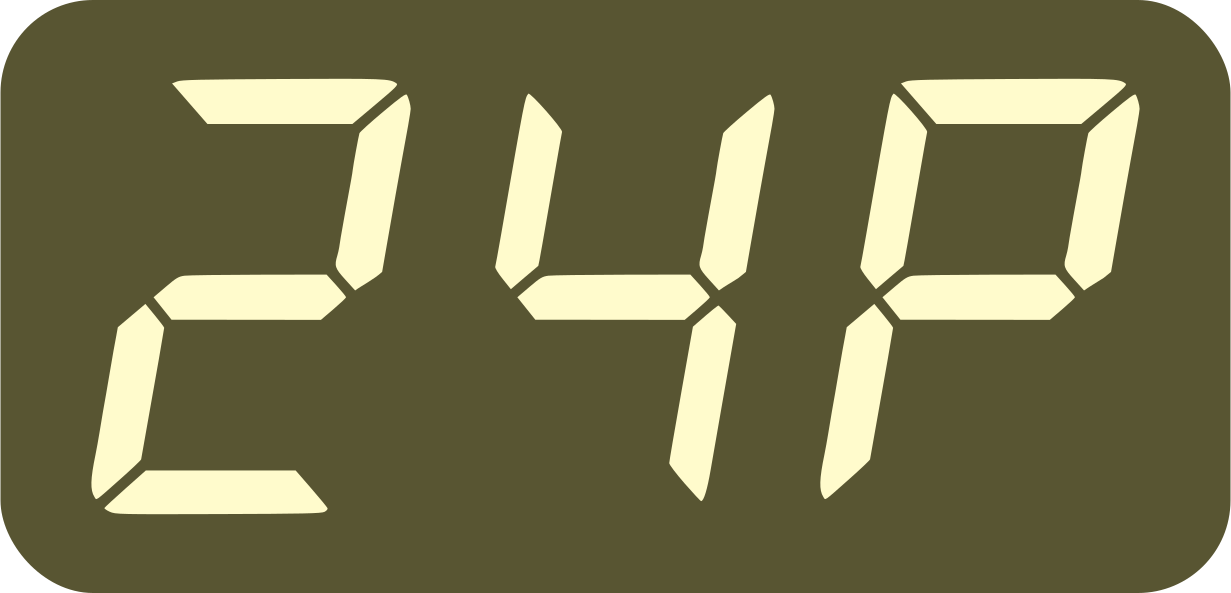
 is set to
 to
to  Clock sent at 1 to 24 ppq (pulses per
quarter)
Clock sent at 1 to 24 ppq (pulses per
quarter)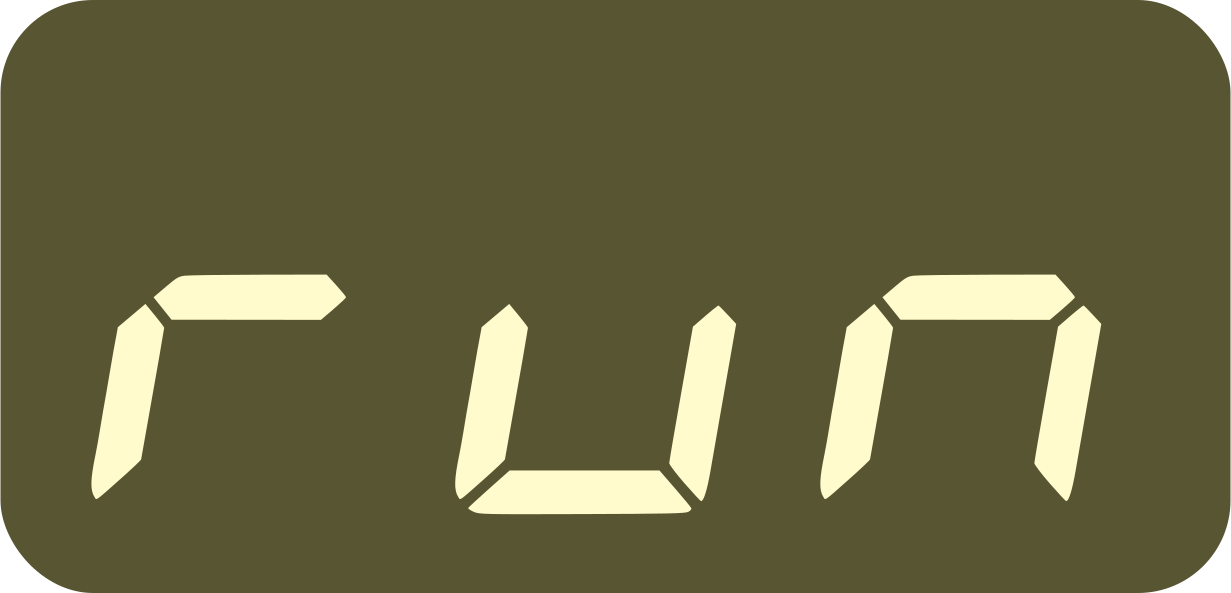 Run gate signal, 5V = playing, 0V = stopped
 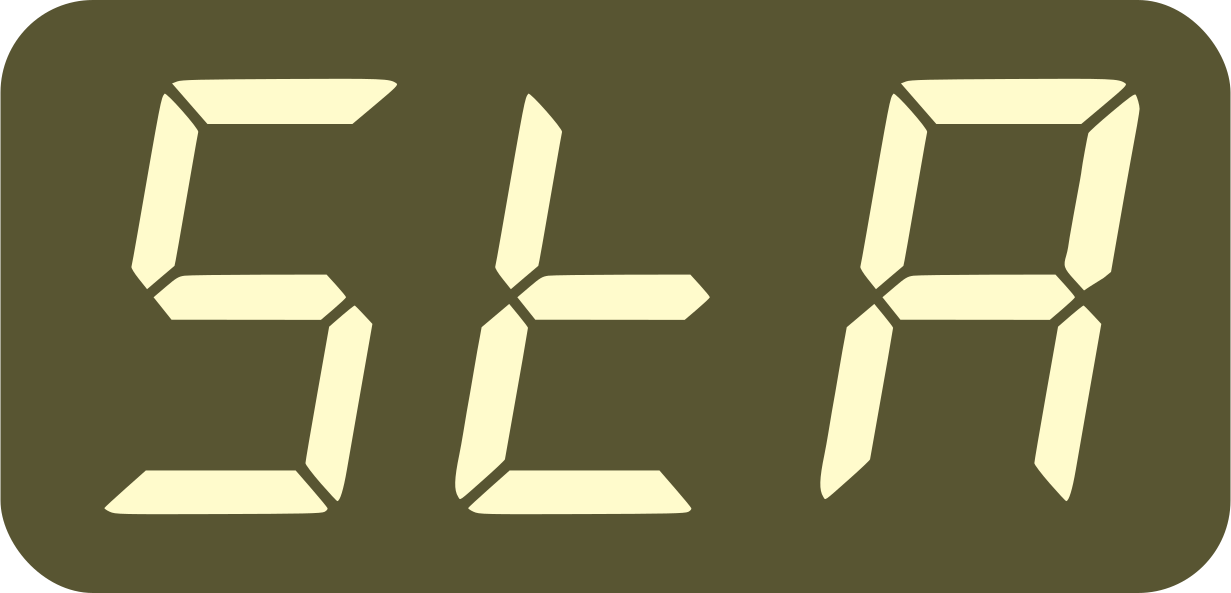 Pulse/trigger sent when starting/stopping
 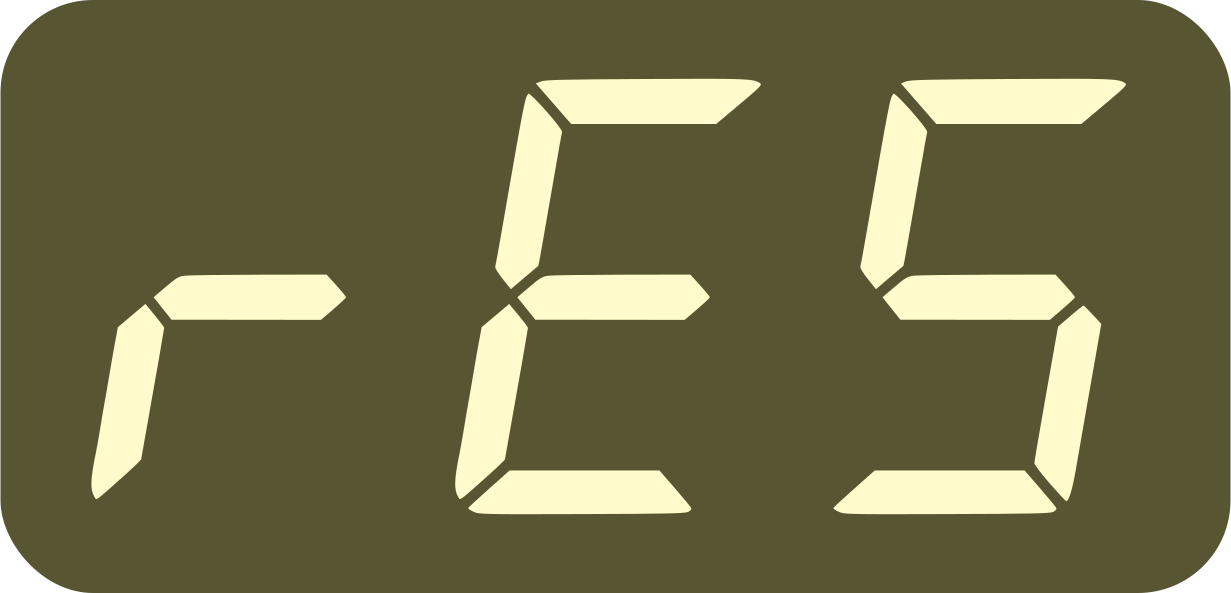 Pulse/trigger sent when starting/resyncing
  to
to 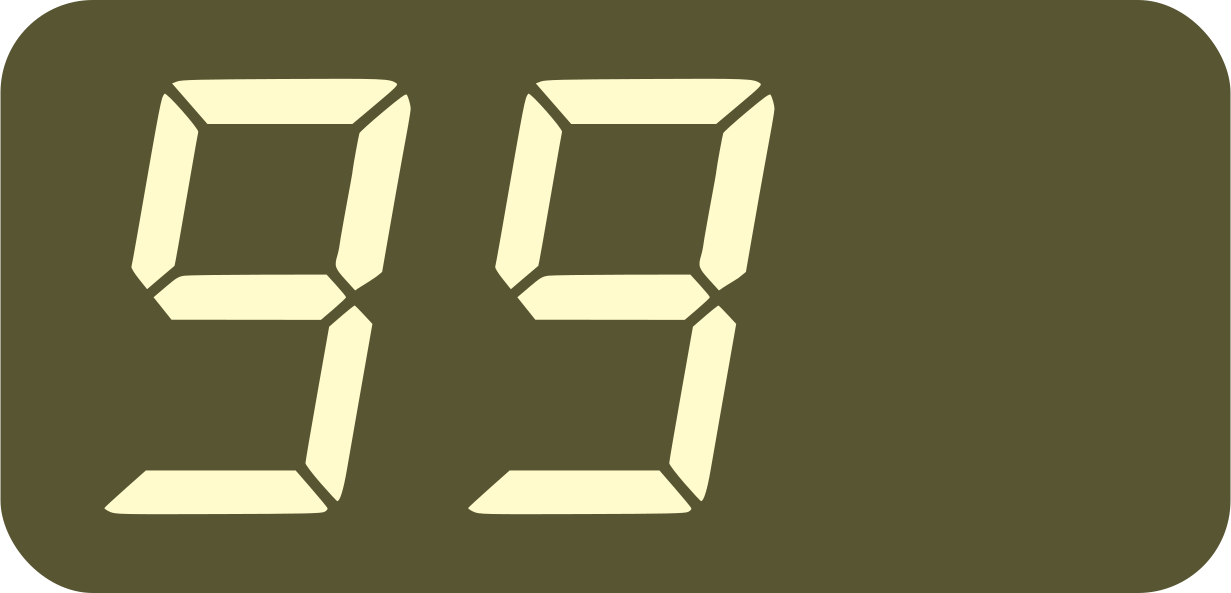 Pulse sent every 2 to 99 quarter notes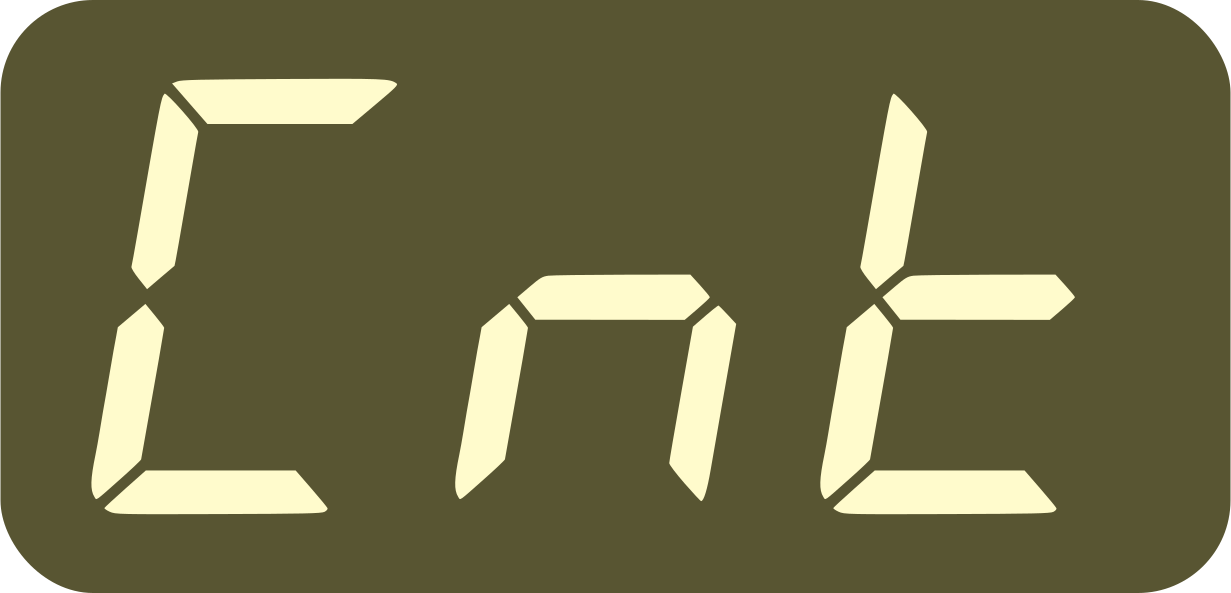
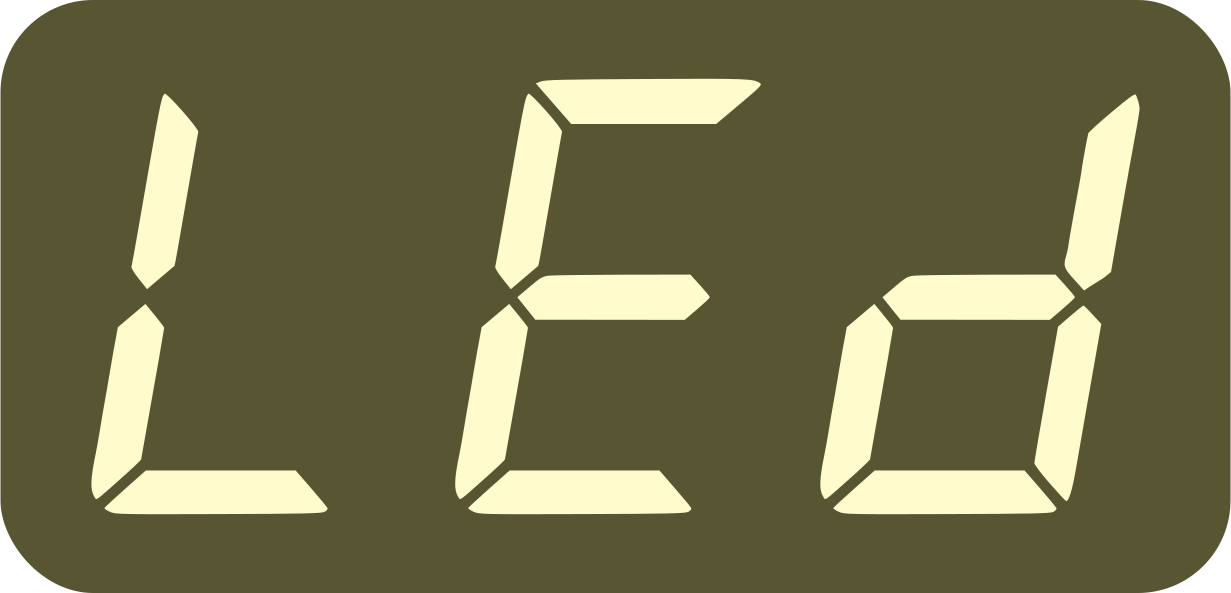
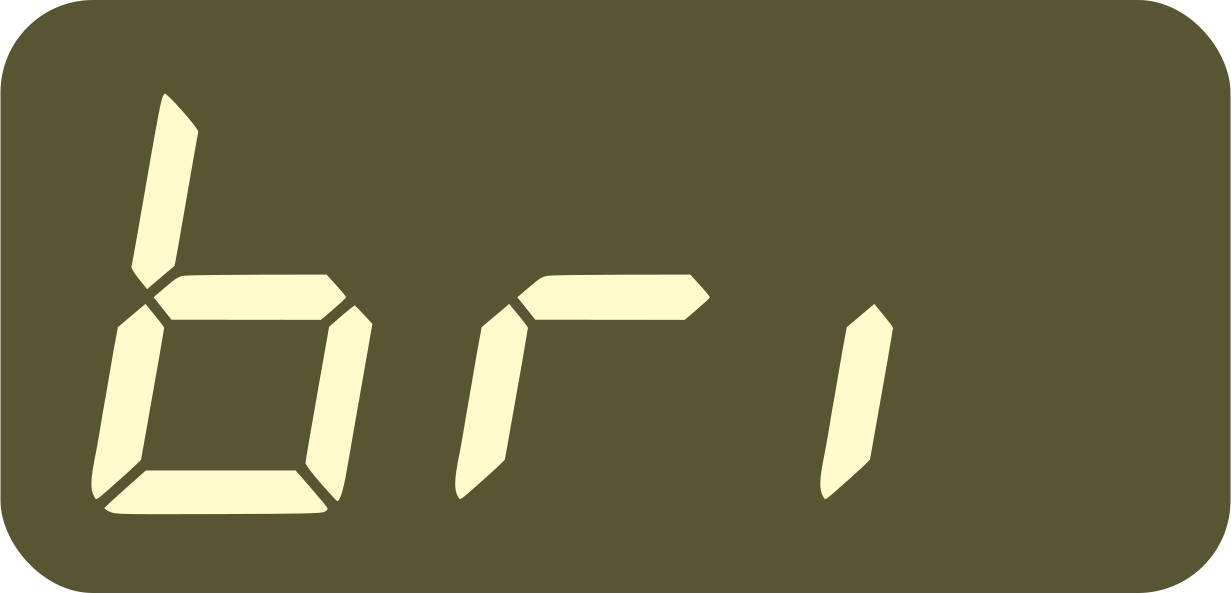
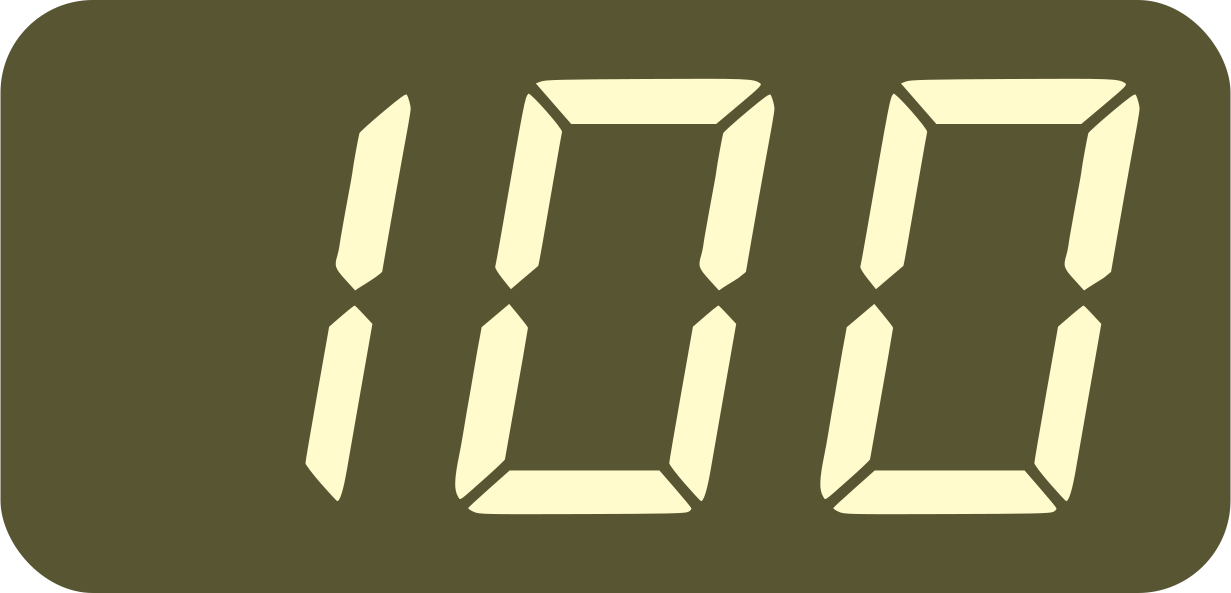 to
to 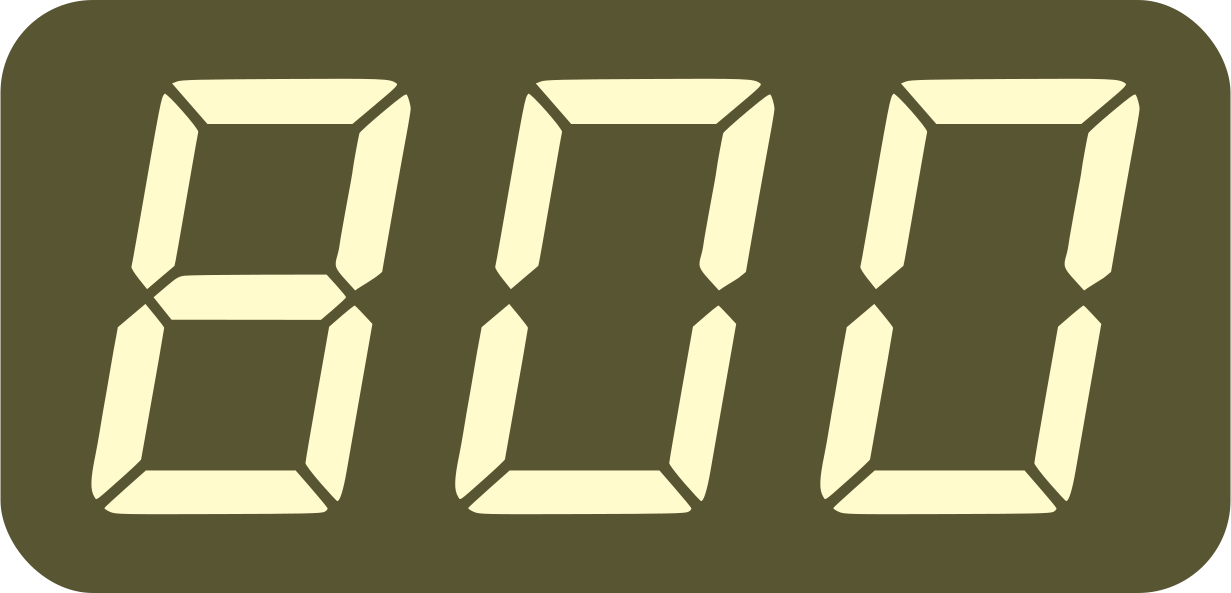 Brightness of the display and all LEDs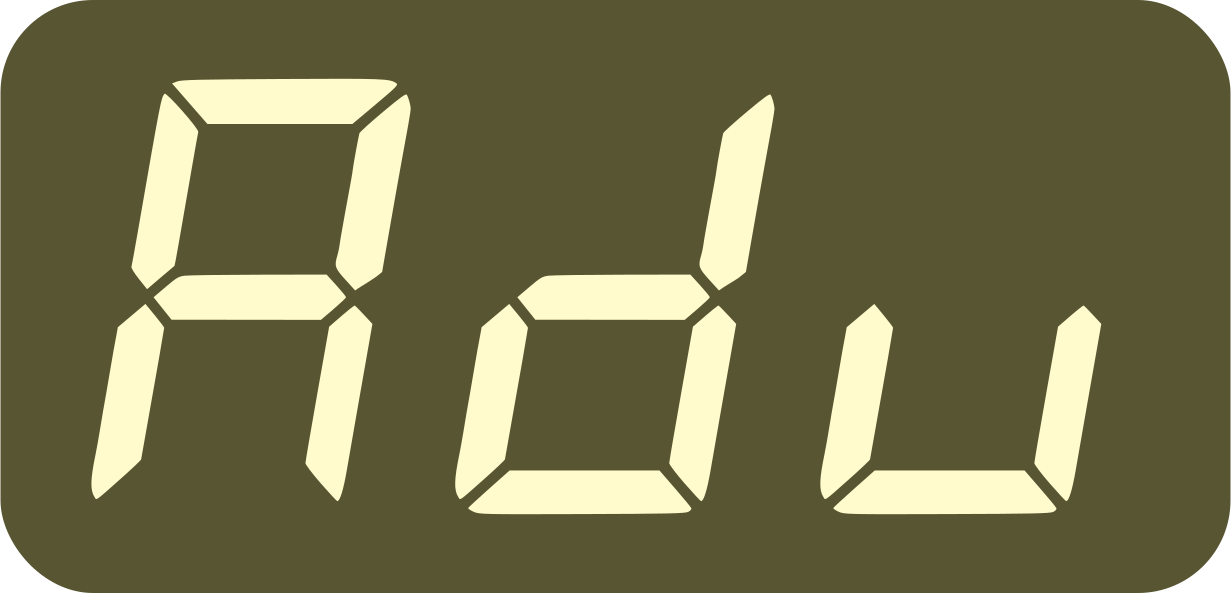
(1) When out of the settings, adjust both volumes quickly by holding down the Setup button and turning the Knob.
(2) when selecting 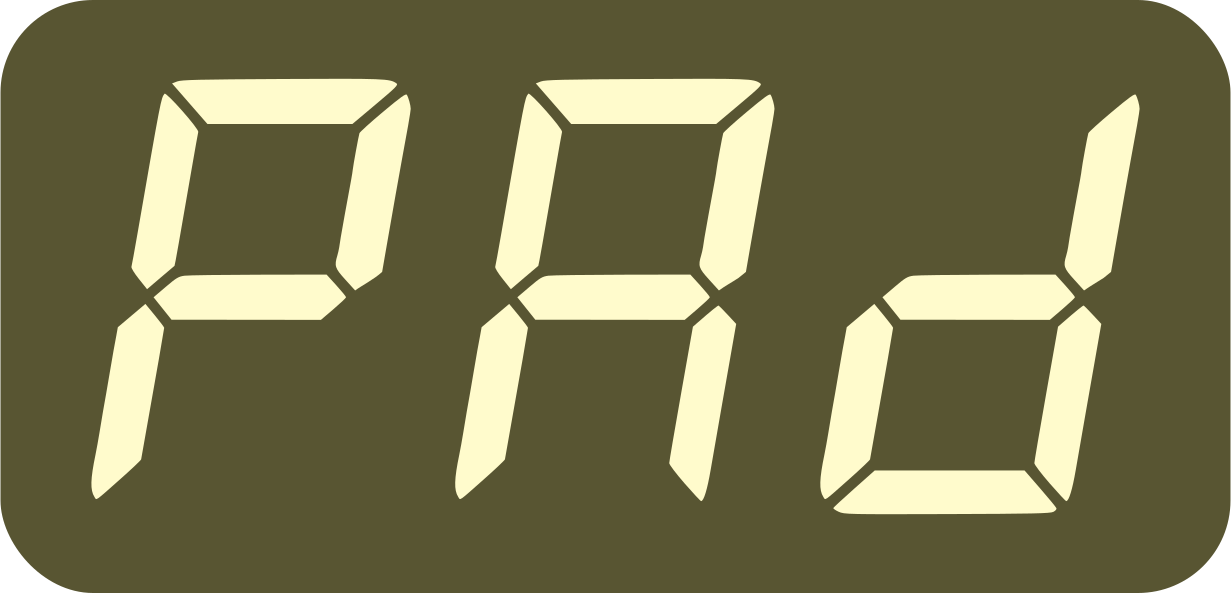 , , or
  to
to
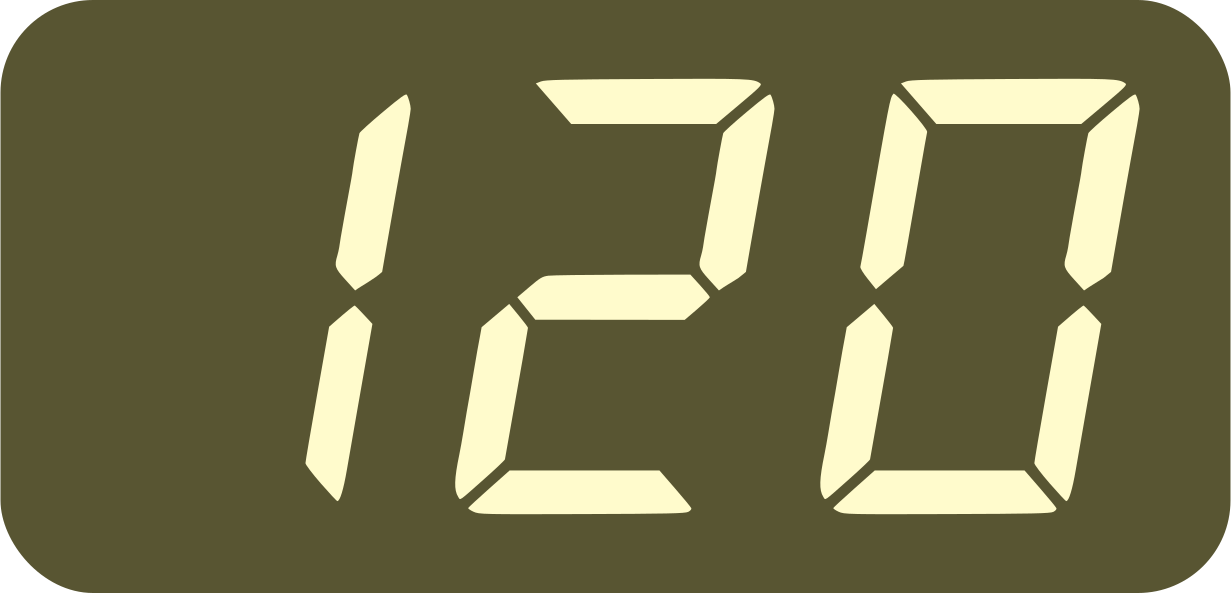 , the tempo LED will stop blinking and react to taps on the
pad, or to input audio/analog pulses. This way you can check the
volume/strength of the input.
, the tempo LED will stop blinking and react to taps on the
pad, or to input audio/analog pulses. This way you can check the
volume/strength of the input.
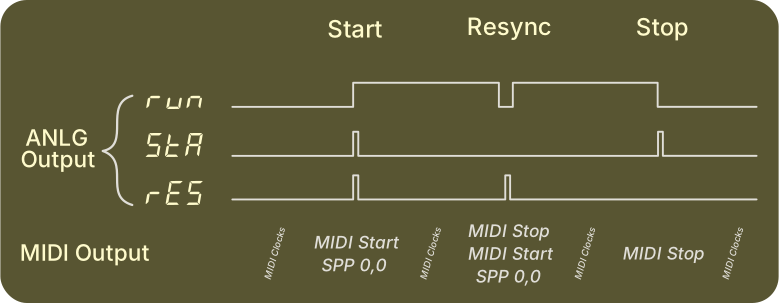
(3) Here is a diagram to better understand those 3 options:
The list of advanced settings
Setting |
Meaning |
Values |
|
Pedal Function (5) |
(changing this will automatically
set |
|
|
|
|
Pedal Type |
|
|
Mute Function |
(great to use when |
|
Reset Mode |
(great to use when |
|
Play button 1 Output |
|
|
Play button 2 Function |
|
|
MIDI Clock Setup |
(when an output is not sending MIDI Clock, the MIDI Start, Stop and SPP messages will not be sent either) |
|
MIDI Output 2 Speed |
MIDI Clock speed divider on MIDI Output 2 From To |
|
Presets Configuration |
See the Tempo Presets section |
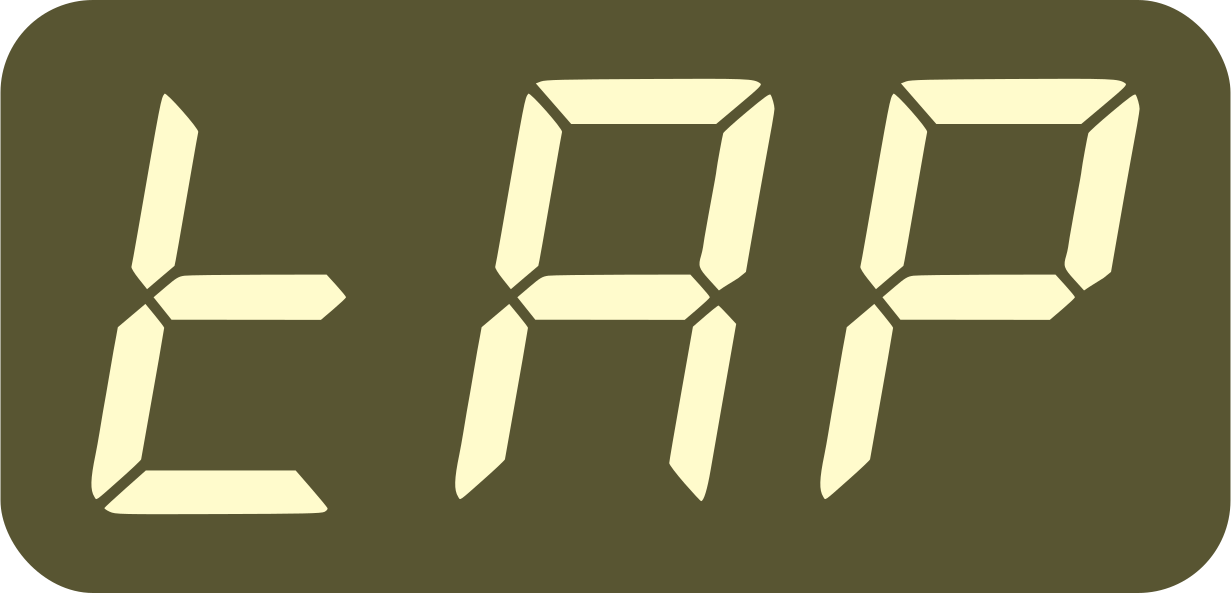 Tap Tempo
 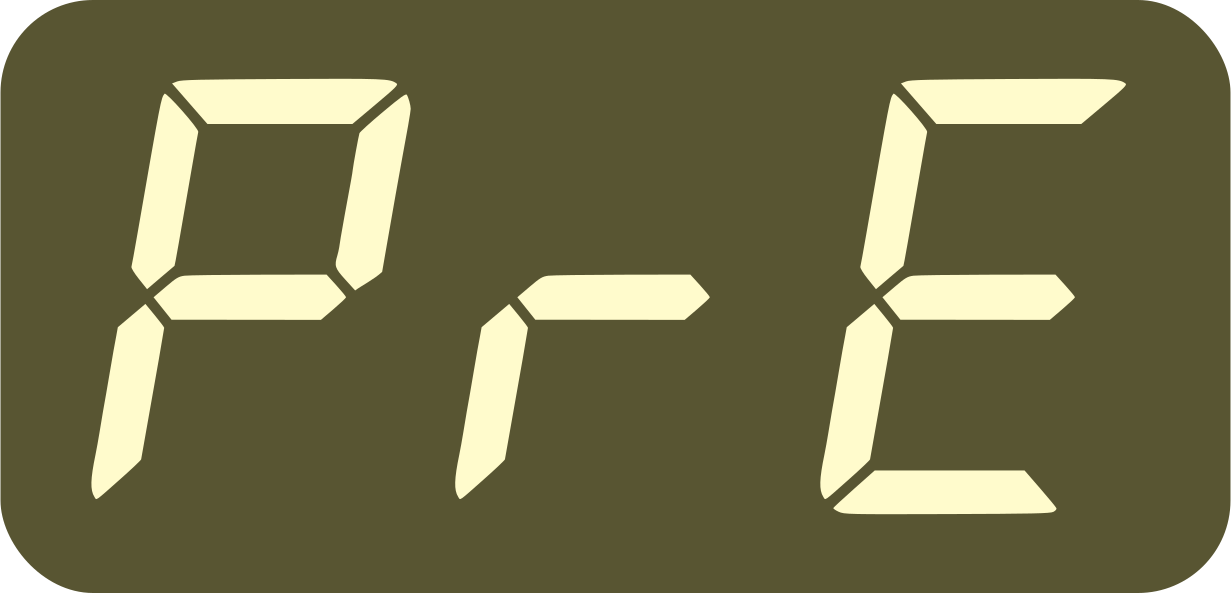 Apply next/previous preset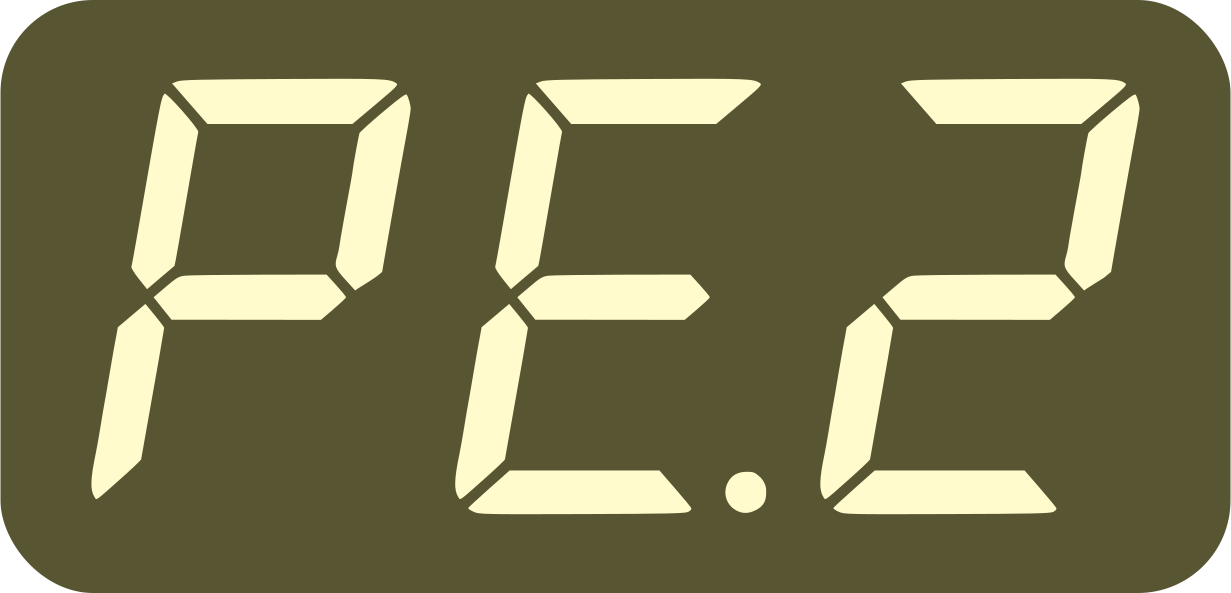
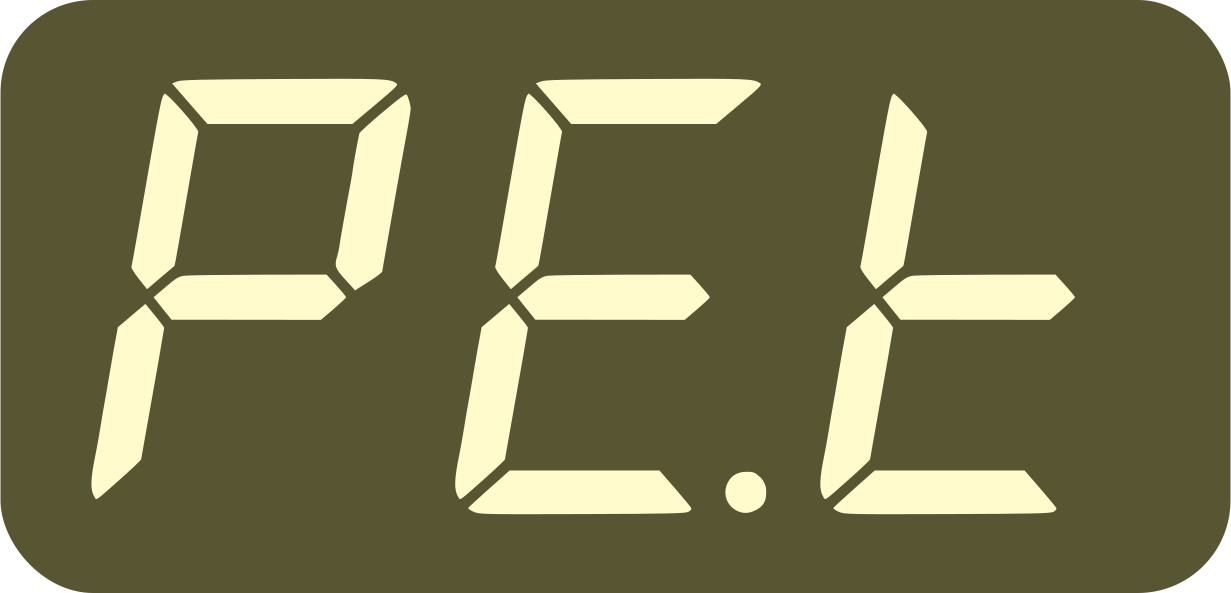
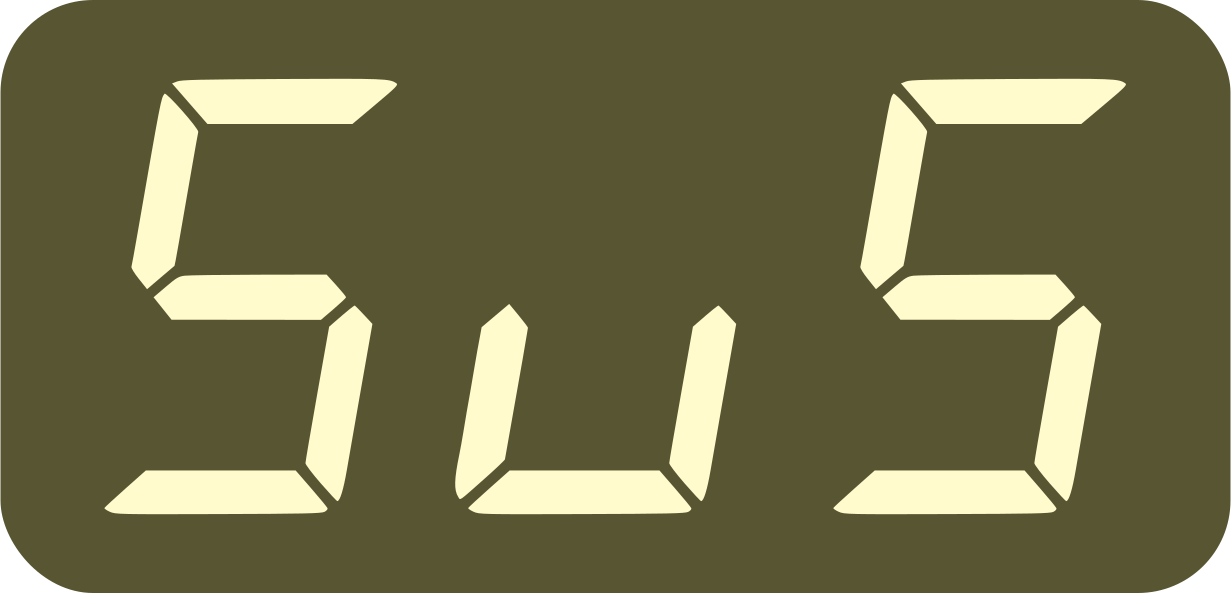 Sustain - use momentary pedals like piano
sustain pedals (default)
Sustain - use momentary pedals like piano
sustain pedals (default)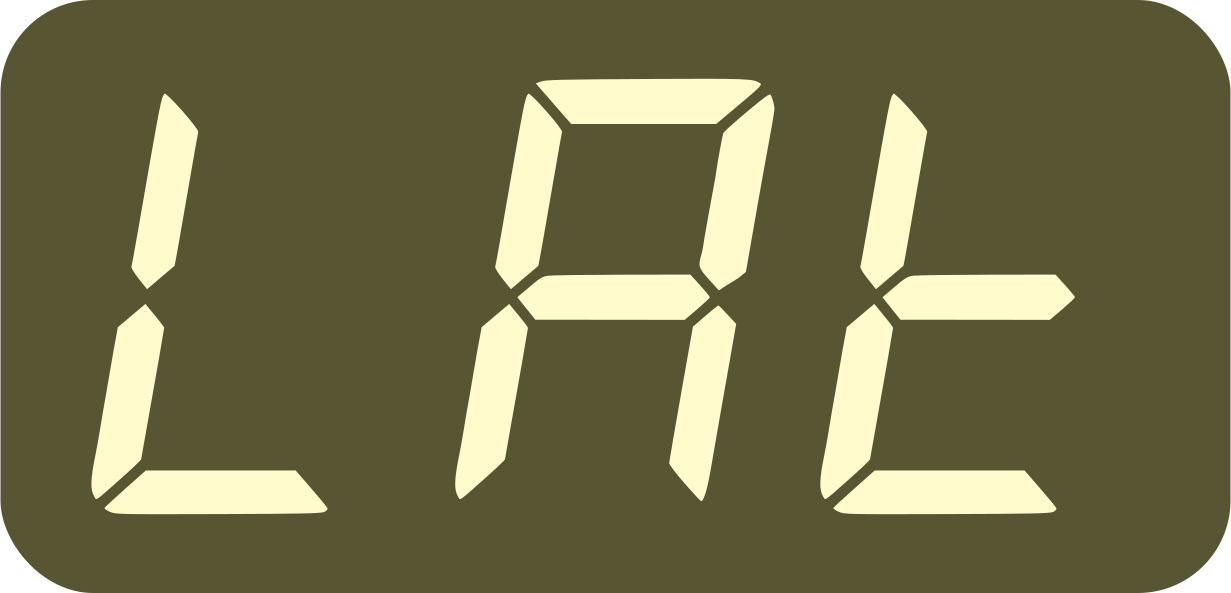 Latching - use latching pedals like guitar
amp footswitches
Latching - use latching pedals like guitar
amp footswitches 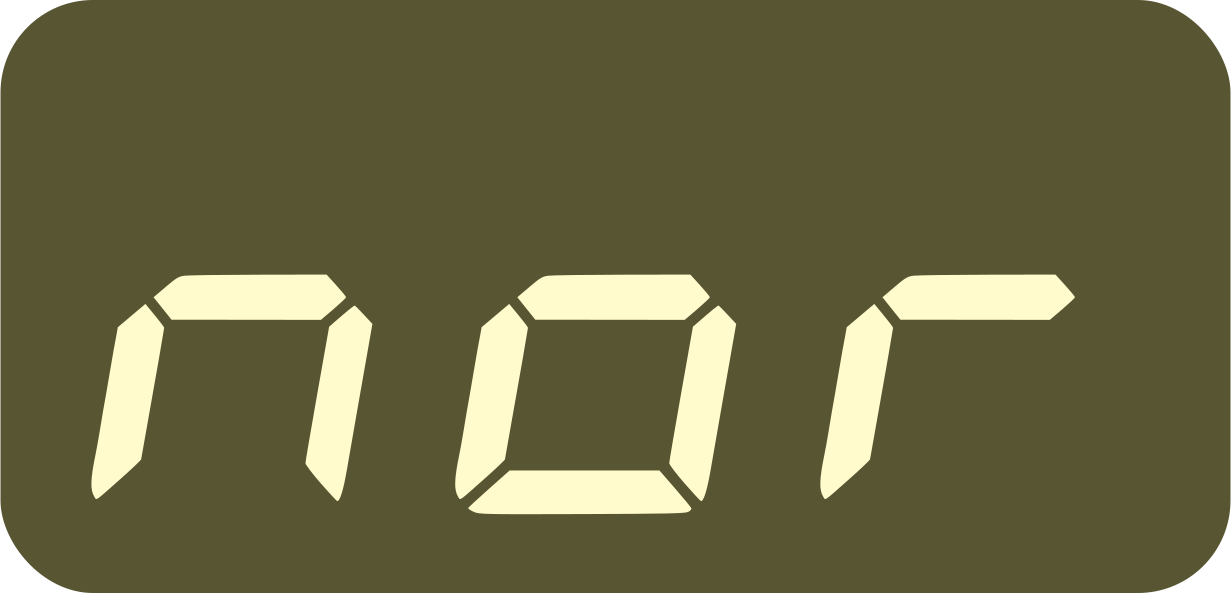 normal behavior, no following (default)
 will
mute and unmute the metronome
will
mute and unmute the metronome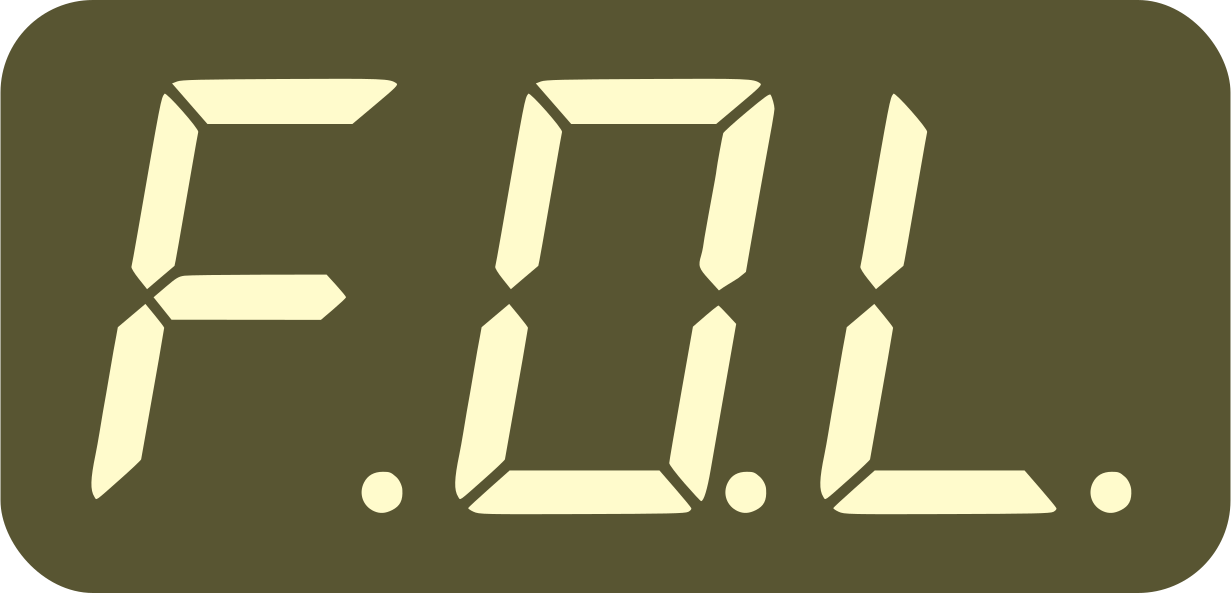 Same as Follow Play -
but unmutes as soon as
Same as Follow Play -
but unmutes as soon as 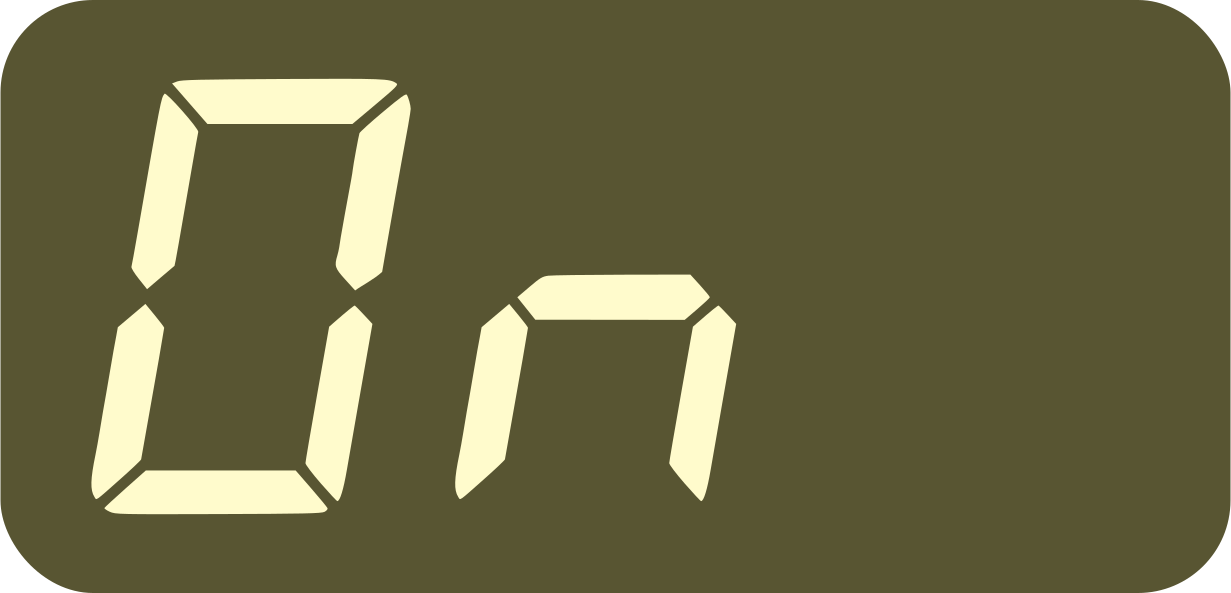 Play is sent right away and the audio metronome
is reset/rewound
Play is sent right away and the audio metronome
is reset/rewound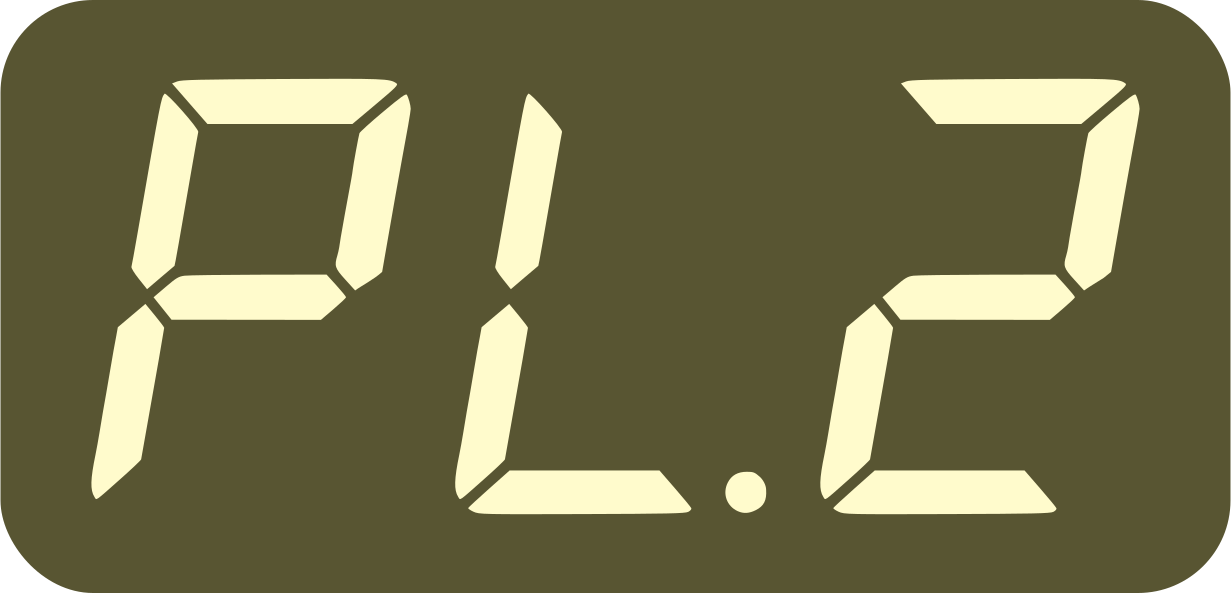
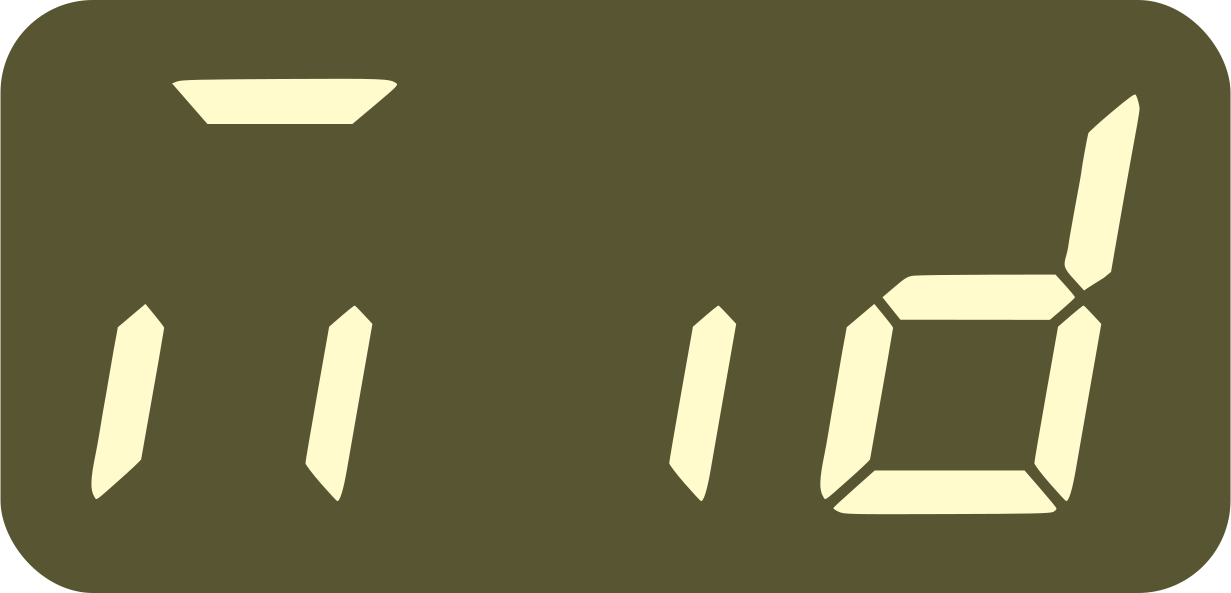
 = 1/8 (clock running at 1/8th of
the speed)
= 1/8 (clock running at 1/8th of
the speed)(1) Pedal 1 configured as act like the play
buttons: short press does start/stop, while a long press does resync.
Using one pedal only will affect the MIDI output controlled by the play
button 1 (i.e. 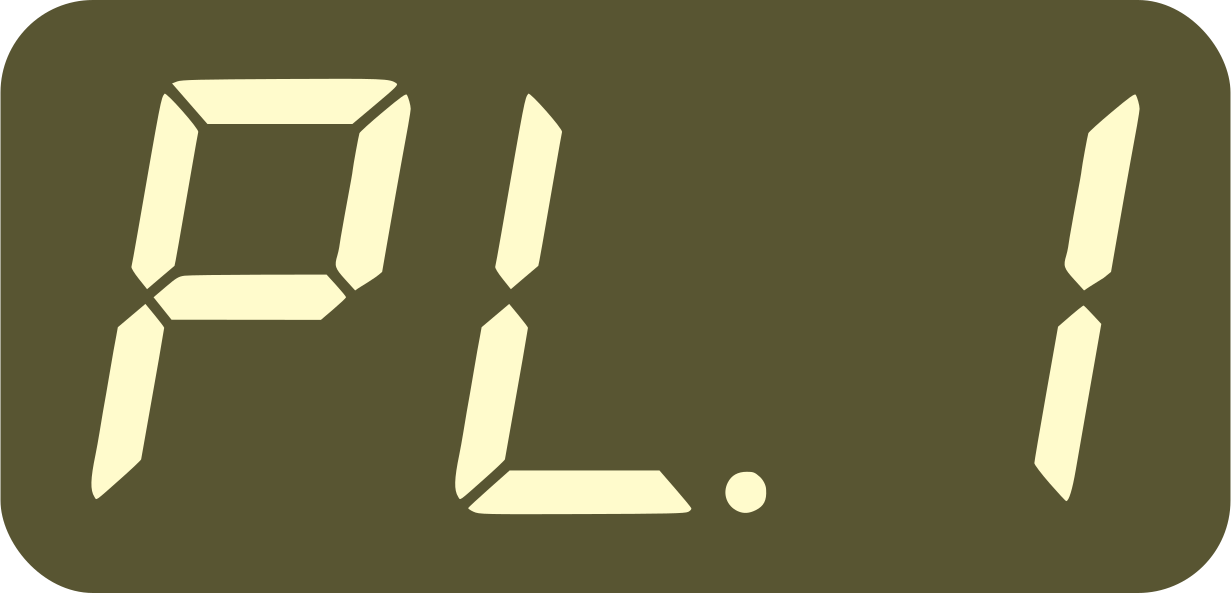 setting). Using two pedals will each control
one MIDI output.
setting). Using two pedals will each control
one MIDI output.
(2) Short press applies the next preset, long press applies the
previous preset.
Or use both pedals, in this case pedal 1 = previous preset and pedal 2
= next preset.
(3) Pedal 2 is the Ring/Right part of the INPUT plug, it can be used in
conjunction with any of the 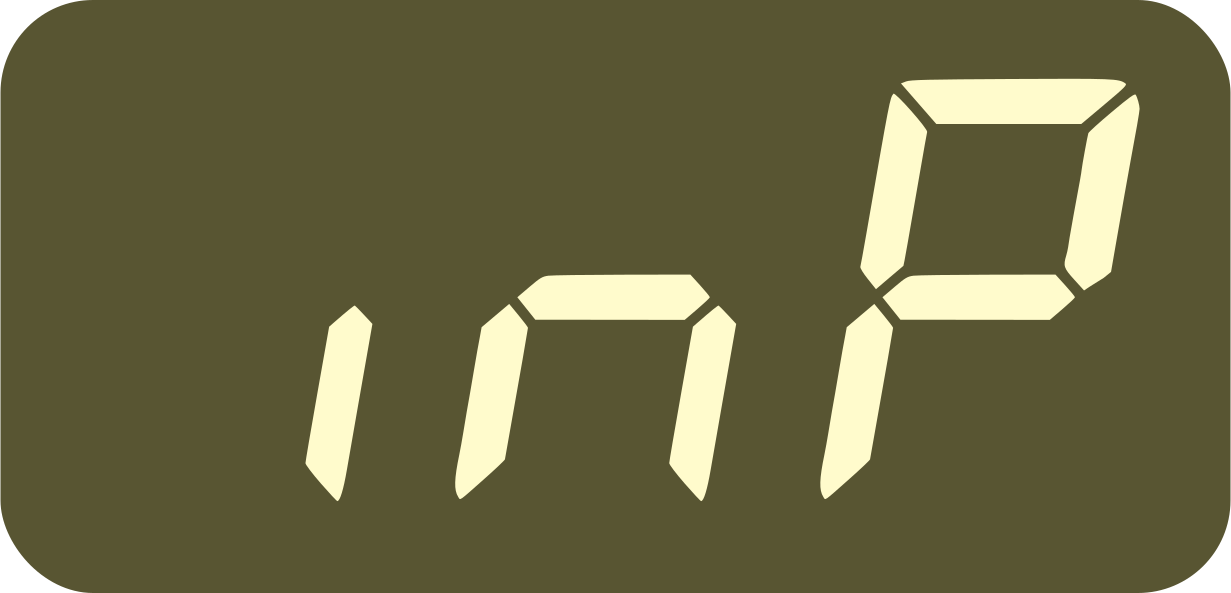 settings. When configured as a single
pedal, long press is disabled, so that you can start your machines
more precisely on the press (and not release).
settings. When configured as a single
pedal, long press is disabled, so that you can start your machines
more precisely on the press (and not release).
(4) When using this option, you can still mute/unmute with a pedal,
MIDI Commands, or by changing the
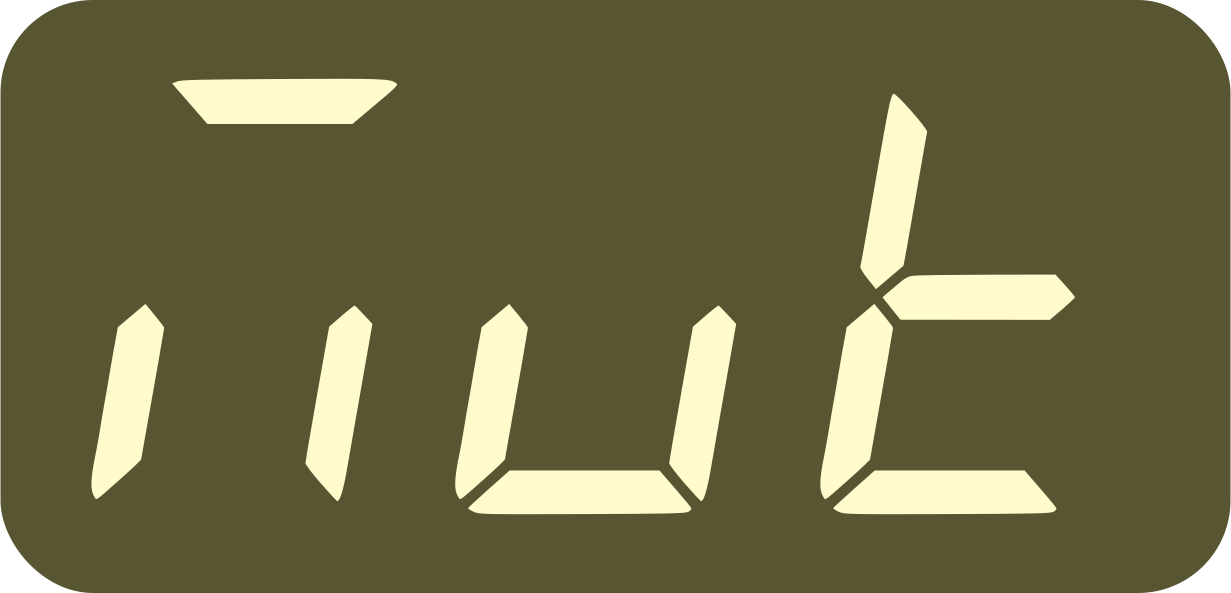 setting to .
(5) The two pedals’ polarity is automatically detected when leaving the settings and when the device restarts. Make sure not to press the pedal at that time.
(6) When count-off is enabled, a double-tap will stop the sequencers / unmute the metronome (depending on the count-off setting).
(7) Latching pedals cannot do a “long-press”, so using such a pedal will not give the possibility to load the previous preset or to resync (for example).
Extra metronome settings
The Nome’s metronome has extra settings that can only be configured using the Sim’n Tonic Config Tool.
These settings are saved on the device just like the others, but are not accessible from the device itself.
Config Tool View |
Setting |
Values |
|
Metronome Sound for Click 3 (8th notes) |
Click sound for 8th notes on the metronome, set to:
|
|
Metronome Sound for Click 4 (16th notes) |
Click sound for 16th notes on the metronome, set to:
|
|
Volume of Click 3 (8th notes) |
Volume of the click 3, set to either:
|
|
Volume of Click 4 (16th notes) |
Volume of the click 4, set to either:
|
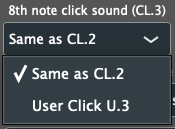
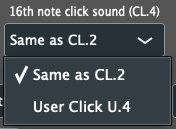
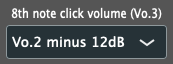
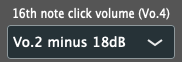
You can also use the same Sim’n Tonic Config
Tool to upload custom user click
sounds for the metronome (i.e.  ,
,  ,
,  , and
, and
 ).
).